Configure Magento 2 Country List
Magento 2 country options identify your business's location and the countries where your store accepts the orders.
We cover how to set up the Magento 2 country list for the checkout page.

Configure Magento 2 Country List Options
1. Log in to the Magento admin panel and navigate to Stores > Configuration
2. Select General under the General section.
3. Expand Country Options
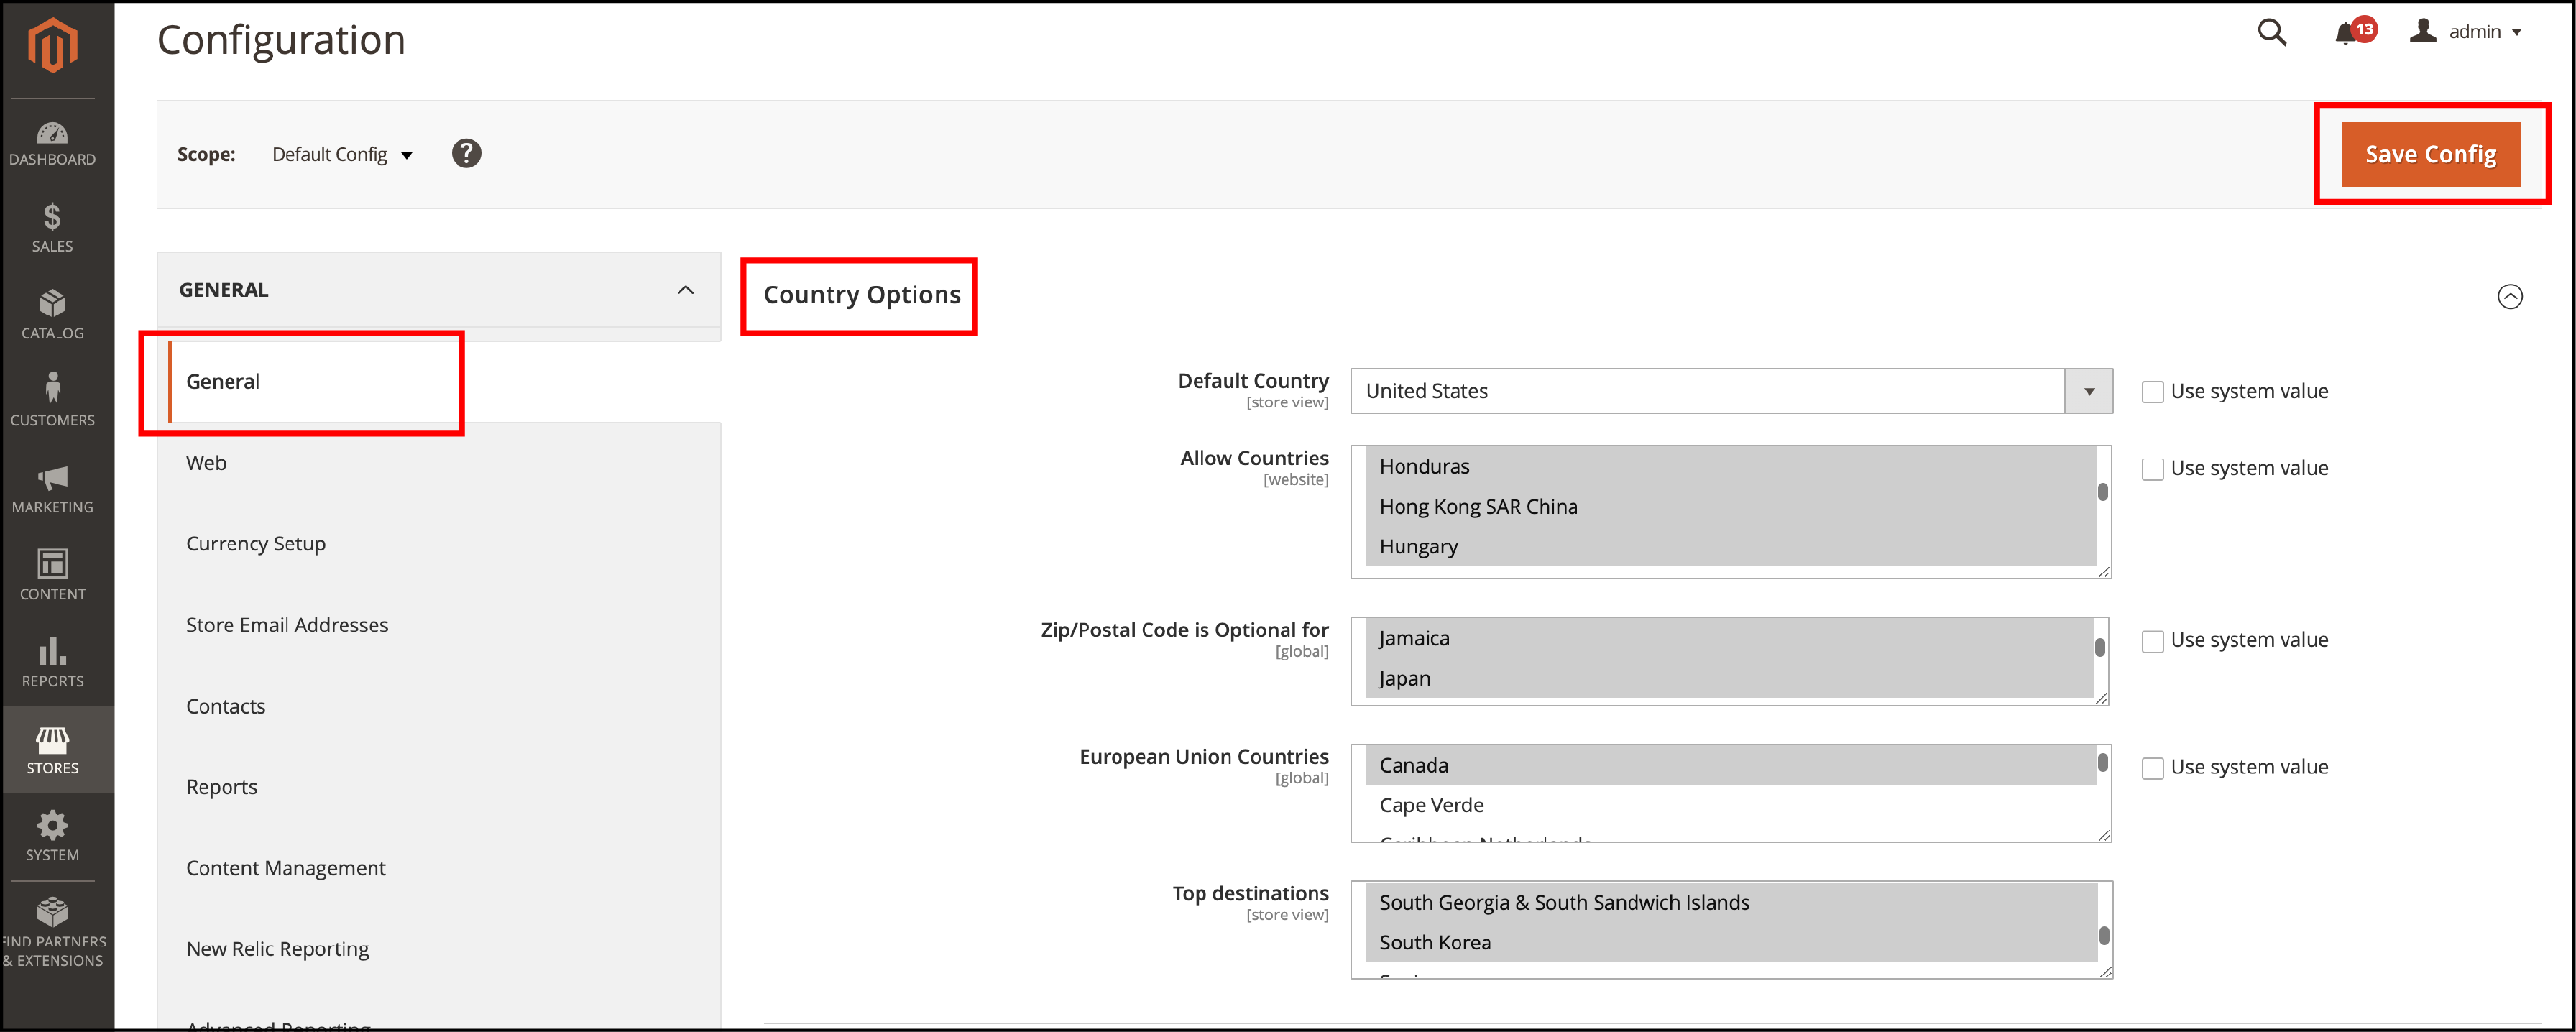
4. Default Country – Select the default country where your business is located.
5. Allow Countries – Select the countries from which your store accepts orders.
6. Zip/Postal Code is Optional – Add the countries where you conduct business that does not require a ZIP or postal code as part of the street address.
7. European Union Countries – Enter the EU countries where you conduct business.
8. Top Destination – Select the countries that are primary sales targets.
9. Save the configuration changes.
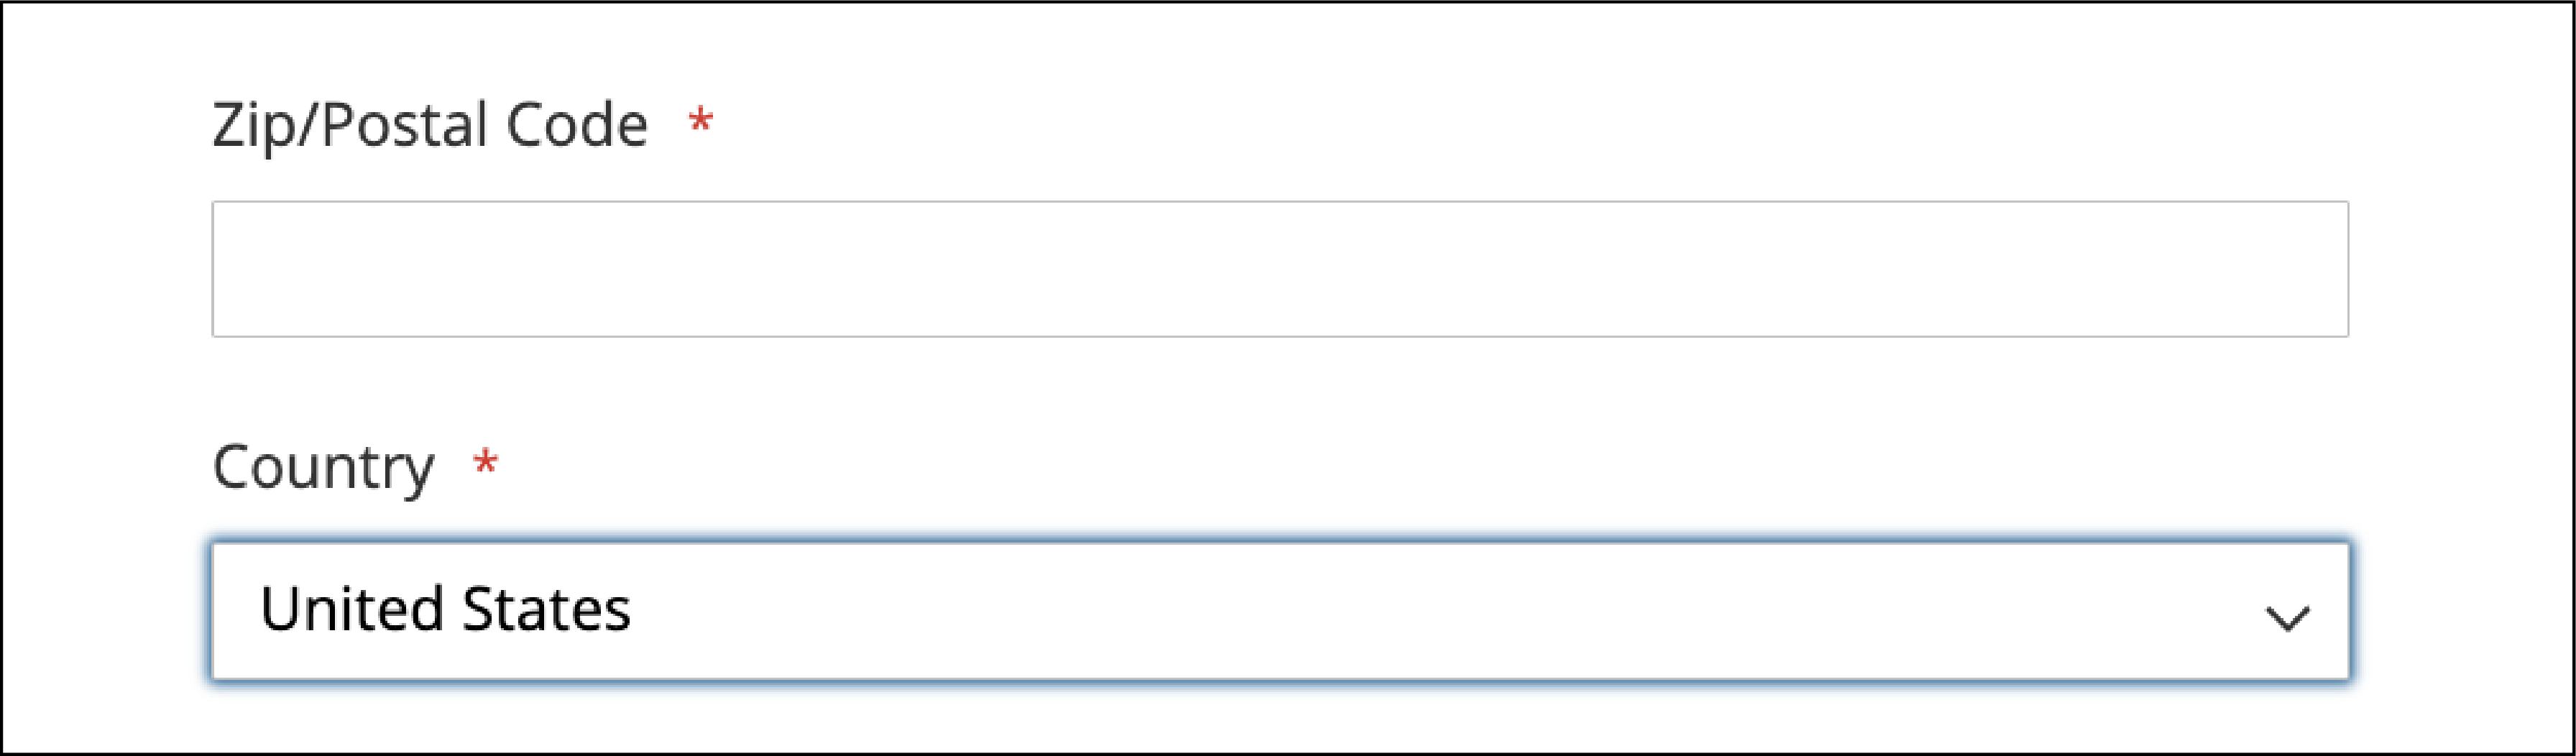
Once the setup is complete, customers can only select shipping to the accepted countries for your store.
EndNote
The store admin can restrict countries that can place an order from your store. Some products may be limited to some countries for reasonable shipping costs. Country options identify which countries you accept payments to and how customers can select the specific country during checkout.
We have learned how to set up the country list in Magento 2 and target specific countries. Get more information on the Magento platform on the MGT Commerce tutorials.