How to Configure Currency in Magento 2
A global Magento store can offer multiple currencies to customers.
You can configure the currencies so that customers choose their preferred currency during checkout.
The currency symbol appears on product prices and sales documents such as orders and invoices.
Magento 2 stores accept currencies from more than two hundred countries.
You can also customize the currency's appearance in the store.
We cover how to configure the currencies in Magento 2.

What is New In Magento 2.4.4?
1. PHP 8.1 Support

Magento 2.4.4 is highly supportive of PHP 8.1.
It brings new features such as:
- read-only properties
- Enums
- first-class callable syntax
- explicit octal numeral notation
- pure intersection types
- fibers
- final class constants
- never return type
Note: Support for PHP 7.3 will be removed from the new versions of Magento.
2. Platform Enhancements
- Compatible with PHP 8.1.
- RequireJS library and Laminas are upgraded to the latest version.
- Support for TinyMCE 5, Elasticsearch 7.16 and OpenSearch 1.2.
- PHPUnit upgraded to 9.5.x.
3. Vendor Bundled Extensions
Prior versions of Magento were packaged with a list of 3rd-party extensions. Such as Amazon Pay, Klarna, Yotpo, and Braintree.
In Magento 2.4.4, the platform has removed all vendor bundled extensions except Braintree.
4. GraphQL

With the latest version, you can add a payment method of negotiable quotes. The settings for storage performance configuration have been improved.
GraphQL Performance Improvements in Magento 2.4.4
-
GraphQL Cache The caching systems will now cache GraphQL requests sent with auth tokens. This speeds up the response time and provides customers with a faster storefront experience.
-
GraphQL Cart Operation The collectQuoteTotals() method, will be called only once during a GraphQL request to improve the response time.
5. Performance Improvements
Magento 2.4.4 is the fastest and most scalable version ever. It ensures that merchants get the ability to adapt to changing market trends with continued flexibility.
With Adobe Commerce 2.4.4 you can:
- Handle complex catalogs up to 10 times larger.
- Process 5 times higher transaction volumes per hour
- Deliver substantially faster API response times.
With the adoption of PHP 8.1. website health and stability are improved for admin and storefront. Supports for ElasticSearch (7.16.1) and OpenSearch 1.1, will fetch results faster for users.
Comparing Adobe Commerce 2.4.4 to sites on version 2.3 there is a 34% lower chance of site outages.
6. Security
Security Bulletin
OFFICIALAPSB22-13
April 12, 2022
Adobe's rapid response security bulletin addressing critical vulnerabilities. Priority 3 classification indicates immediate action required for all production environments.
Security Enhancements Implemented
Session Security
Session IDs removed from database storage to prevent hijacking attacks
Coupon Protection
ReCAPTCHA blocks automated coupon abuse saving thousands in fraud
API Hardening
Swagger disabled by default eliminating API documentation exposure
Upload Validation
Enhanced validation prevents malicious file uploads and backdoors
Token Encryption
OAuth tokens encrypted protecting API access credentials
Password Reset
Reset tokens encrypted preventing account takeover attempts
Upgrade Impact
This update resolves a critical remote code execution vulnerability that could lead to complete store compromise, customer data breaches, and significant financial damage.
PCI DSS Compliance
REQUIRED
Exploitation Risk
EXTREME
Action Required
IMMEDIATE

-
Magento Patch Update
Adobe has released a security update for Adobe Commerce and Magento Open Source. A vulnerability of CVSS score 9.1 is patched in Magento 2.4.4.
This update resolves a critical remote code execution error. Successful exploitation could lead to arbitrary code execution. Upgrade to version 2.4.4 to resolve.
| Bulletin ID | Date Published | Priority |
|---|---|---|
| APSB22-13 | April 12, 2022. | 3 |
-
Security Enhancements
- Session IDs will not be stored in the database.
- ReCAPTCHA support has been added to coupon codes.
- Swagger is disabled by default in production mode.
- Validation is enhanced to eliminate the upload of non-alphanumeric files
- OAuth access tokens and password reset tokens will be encrypted for database storage.
- RECAPTCHA support for coupon codes.
7. Headless commerce
AI-powered product recommendations and search personalize the buying experience.

Personalization helps:
- Accelerates product discovery
- Increases conversion rates
- Boosts average order value
Headless commerce increases GraphQL API coverage for several B2B and admin features. It also adds new capabilities to PWA Studio 12.3 with this release.
8. Cart and Checkout
-
Enable AsyncOrder Process orders in the background while shoppers can go on with finishing other tasks in your storefront.
-
Inventory Check On Cart Load Enables inventory check for a product when it is added to a shopping cart.
-
Multiple processes Allow multiple customers to perform multiple processes in parallel to enhance task execution speed.
-
High volume cart operations Cart operations have been improved by increasing the memory limit for input variables.
-
Deferring total calculation Defer the total calculation of sales rules during the checkout process to speed up load times.
-
Enhanced Guest Checkouts The Order Summary displays the correct currency and amount for the selected country to improve checkout.
-
Improved free shipping threshold Checkout no longer fails when the billing address is missing the street field values. The error message is not shown on the checkout page.
9. Comprehensive platform monitoring
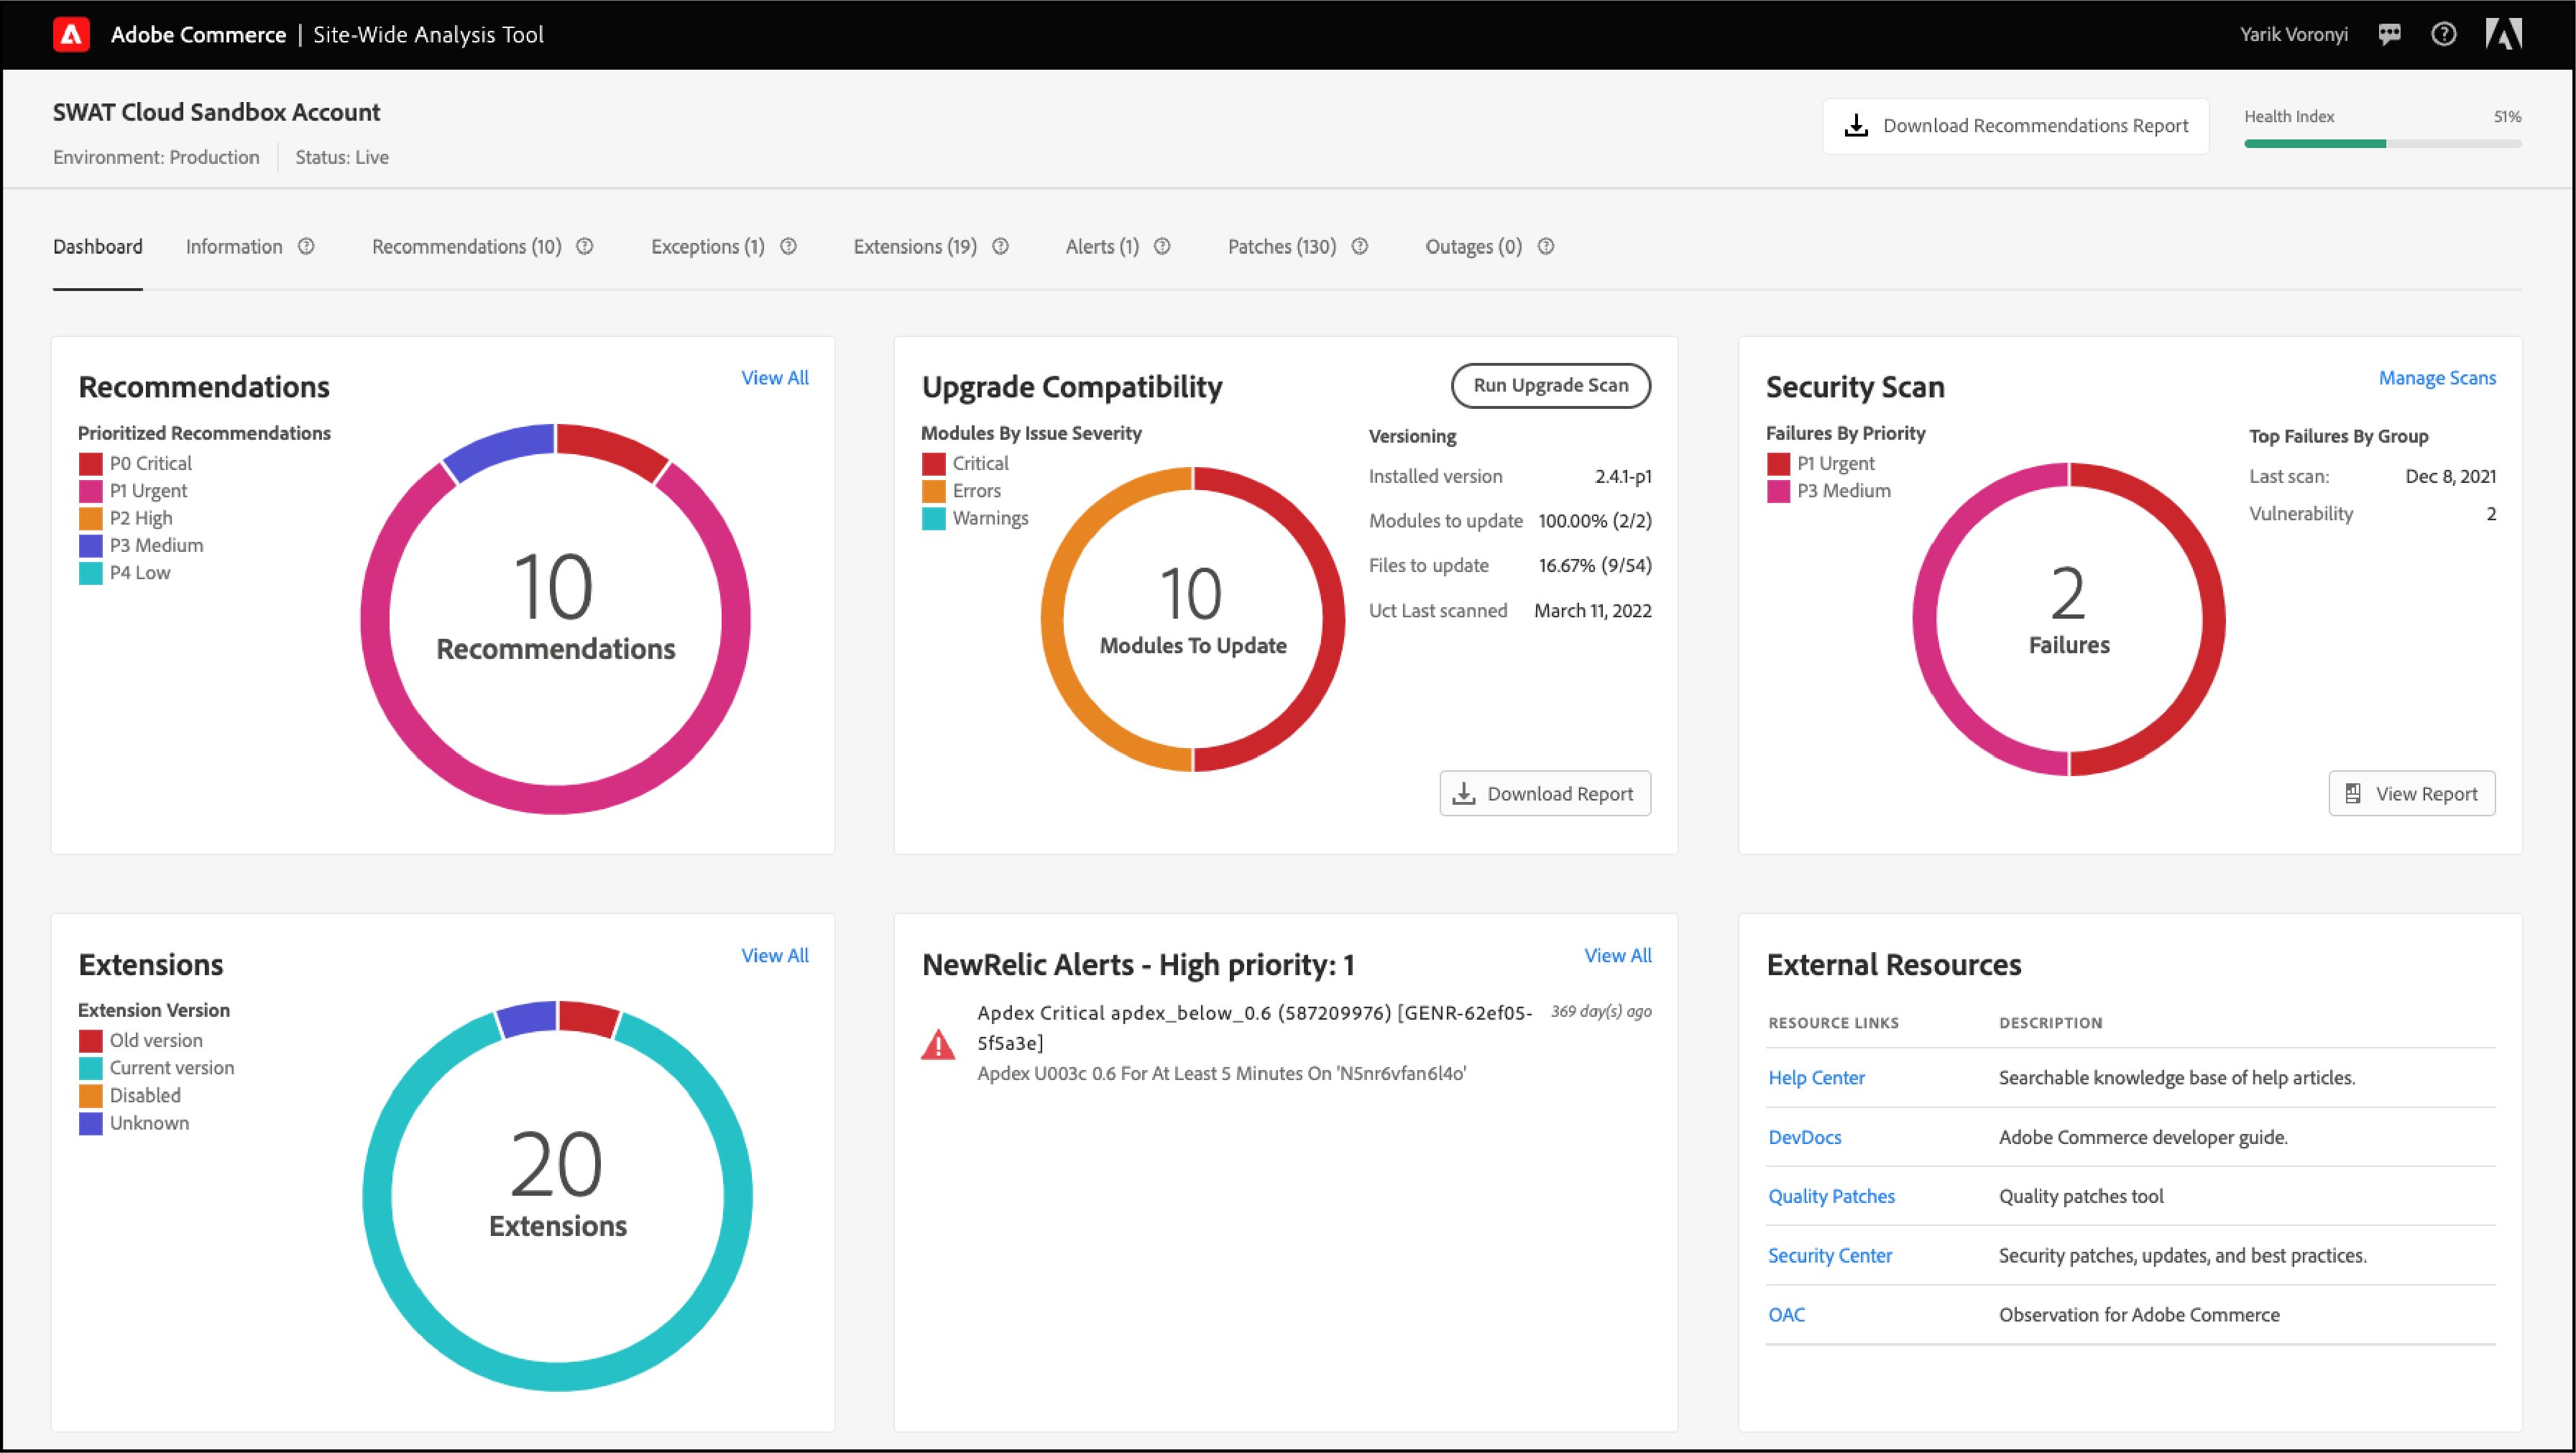
- Access to real-time monitoring, reporting, insights, and recommendations.
- Enhanced Site-Wide Analysis Tool dashboard.
- Easier access to Support Tools.
10. New branding and accessibility enhancements
Users will now see the Adobe Experience Cloud logo in the login screen and admin.
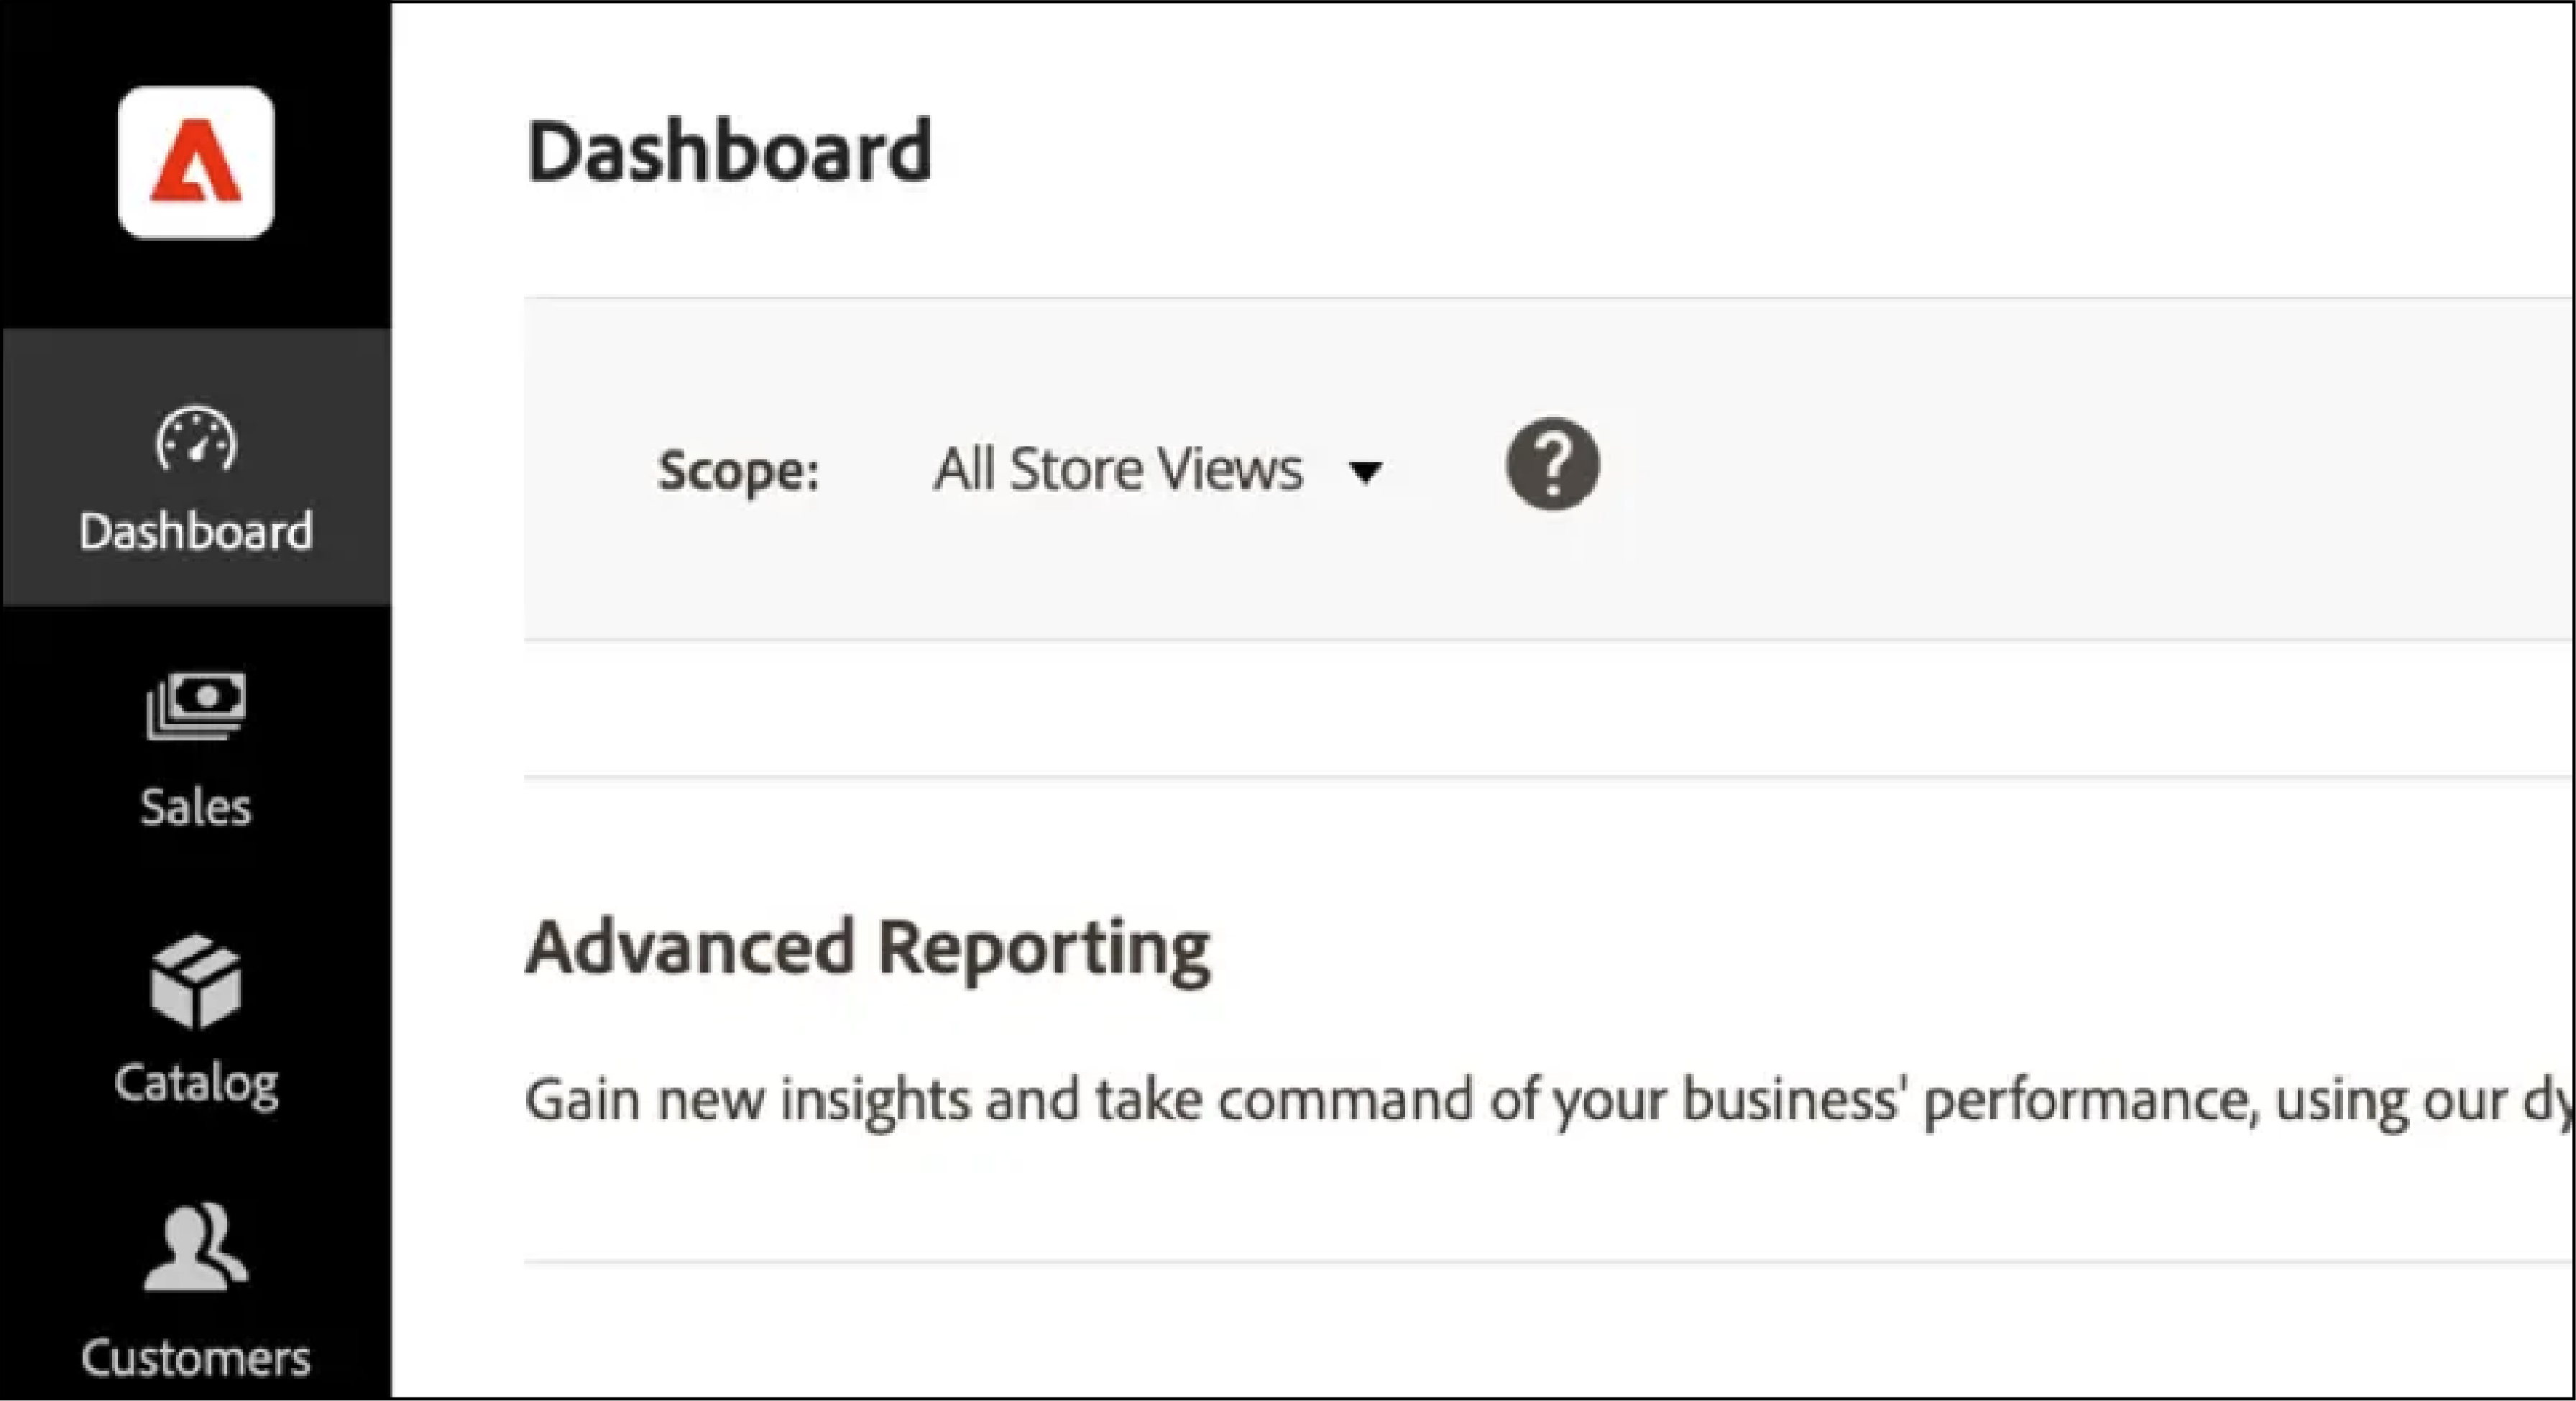
The Admin panel is aligned with accessibility standards including naming and tagging. Interface enhancements are aimed to make the backend more usable for developers with vision impairments.
What are Magento 2.4.4 System Requirements?
Magento 2.4.4 Infrastructure Blueprint
Your Complete Compatibility Checklist for 10x Performance Gains
PHP Runtime Environment
Revolutionary PHP 8.1 support with JIT compilation
23% Performance Boost: PHP 8.1's JIT compilation delivers significant speed improvements for complex calculations
Database Systems
Enterprise-grade data storage options
Enhanced Performance: Both databases optimized for handling 10x larger catalogs
Web Servers
High-performance serving options
HTTP/2 Support: Both servers fully support modern HTTP/2 protocol for improved performance
Search & Cache Systems
Advanced performance optimization
20% Memory Efficiency: Redis 6.2 offers improved memory management for larger catalogs
Critical Requirements & Considerations
Linux only (RHEL, CentOS, Ubuntu, Debian) - Windows and macOS NOT supported
TLS 1.2+ required for PayPal and repo.magento.com - No self-signed certificates
Chrome, Firefox, Safari, Edge, IE 11+ for storefront and admin
RabbitMQ 3.5, Apache Solr 4.x, ext-spl PHP extension
Important: For systems with less than 2GB RAM, create a swap file to avoid failures during platform updates. Production environments typically require 4-8GB RAM for optimal performance with 10x catalog sizes.
Following are the recommended system requirements for installing & running Magento 2.4 smoothly.
1. Operating systems (Linux x86-64):
- RedHat Enterprise Linux (RHEL)
- CentOS
- Ubuntu
- Debian
Note: Magento is not supported on Microsoft Windows and macOS.
2. RAM
- Up to 2 GB of RAM.
Note: For less than 2 GB, create a swap file to avoid failure in the platform update process.
3. Supported Browsers
- Chrome latest and the previous version
- Internet Explorer version 11 or later
- Microsoft Edge version 11 or later
- Firefox latest and the previous version
- Safari latest and the previous version (for Mac OS only)
- Safari Mobile
4. Web Server Requirements
- Elasticsearch 7.16
- Nginx 1.8
- Apache 2.4
5. Database Requirements
- MySQL 8.0
- MariaDB 10.4
6. Cache system Requirements
- PHP OPcache (Recommend)
- Redis 6.2
- Vanish 7.0
7. PHP Requirements
- Php version >= 7.1.3
- Php version >= 7.2.0
8. PHP Extensions Requirements
Math & Crypto
4 EXTENSIONSData Processing
6 EXTENSIONSNetwork & APIs
4 EXTENSIONSGlobal Commerce
2 EXTENSIONSStorage & DB
2 EXTENSIONSEssential Tools
5 EXTENSIONSSystem Library Dependencies
Magento Open Source and Adobe Commerce:
- ext-bcmath
- ext-ctype
- ext-curl
- ext-dom
- ext-fileinfo
- ext-gd
- ext-hash
- ext-iconv
- ext-intl
- ext-json
- ext-libxml
- ext-mbstring
- ext-openssl
- ext-pcre
- ext-pdo_mysql
- ext-simplexml
- ext-soap
- ext-sockets
- ext-sodium
- ext-tokenizer
- ext-xmlwriter
- ext-xsl
- ext-zip
- lib-libxml
- lib-openssl
Additionally Adobe Commerce requires:
- ext-spl
9. Magento 2 SSL Requirements
- TLS (Transport Layer Security)
- SSL for HTTPS
Note:
Self-signed SSL certificates are not supported.
PayPal and repo.magento.com both require TLS 1.2 or later.
10. Mail Server
- Mail Transfer Agent (MTA)
- SMTP server
11. Magento 2 Enterprise Requirements
- PHP extension: bc-math
- Apache Solr 4.x
- RabbitMQ 3.5
- MySQL 5.6, MariaDB, Percona
12. Additional System Recommendations
- The latest stable version of composer should be applied.
- Php_xdebug 2.5.x or later can be used for the development environment.
- PHPUnit 6.2.0 or later is offered as a command-line tool.
EndNote
Magento notifies users of the latest updates with Release Notification in the admin panel.
To know more check the official documents:
- Magento Open Source 2.4.4 Release Notes.
- Adobe Commerce 2.4.4 Release Notes.
Learn how to upgrade Magento 2.4.3 to Magento 2.4.4 on MGT-Commerce Tutorials.