Magento Google Tag Manager: Configurations and 2025 Update
Curious about what’s new in the 2025 GTM update for Magento stores? Magento Google Tag Manager update introduces enhanced privacy features and server-side tagging support.
The article explores the working, 2025 update, and advanced configurations of GTM.
Key Takeaways
-
GTM can boost website speed and privacy compliance.
-
Use server-side tagging to improve data control.
-
Follow the steps to set up Google Ads conversion tracking and Facebook Pixel.
-
Create custom triggers for Magento events, such as wishlist additions.
-
Boost your marketing performance with smarter and more accurate tracking.
What is Google Tag Manager?
Google Tag Manager simplifies the management of marketing tags on your website.
The tool enables admins to add and update tags, such as Google Analytics or Facebook Pixel. It doesn’t need direct modification of the website's code.
GTM enables the efficient deployment of tags. It helps save time and reduces dependency on developers. It also provides event tracking and debugging tools to ensure smooth implementation.
GTM makes it easier to track user interactions and run marketing campaigns. Integrating GTM enables the management of various third-party tags through a single interface.
How Google Tag Manager Works?
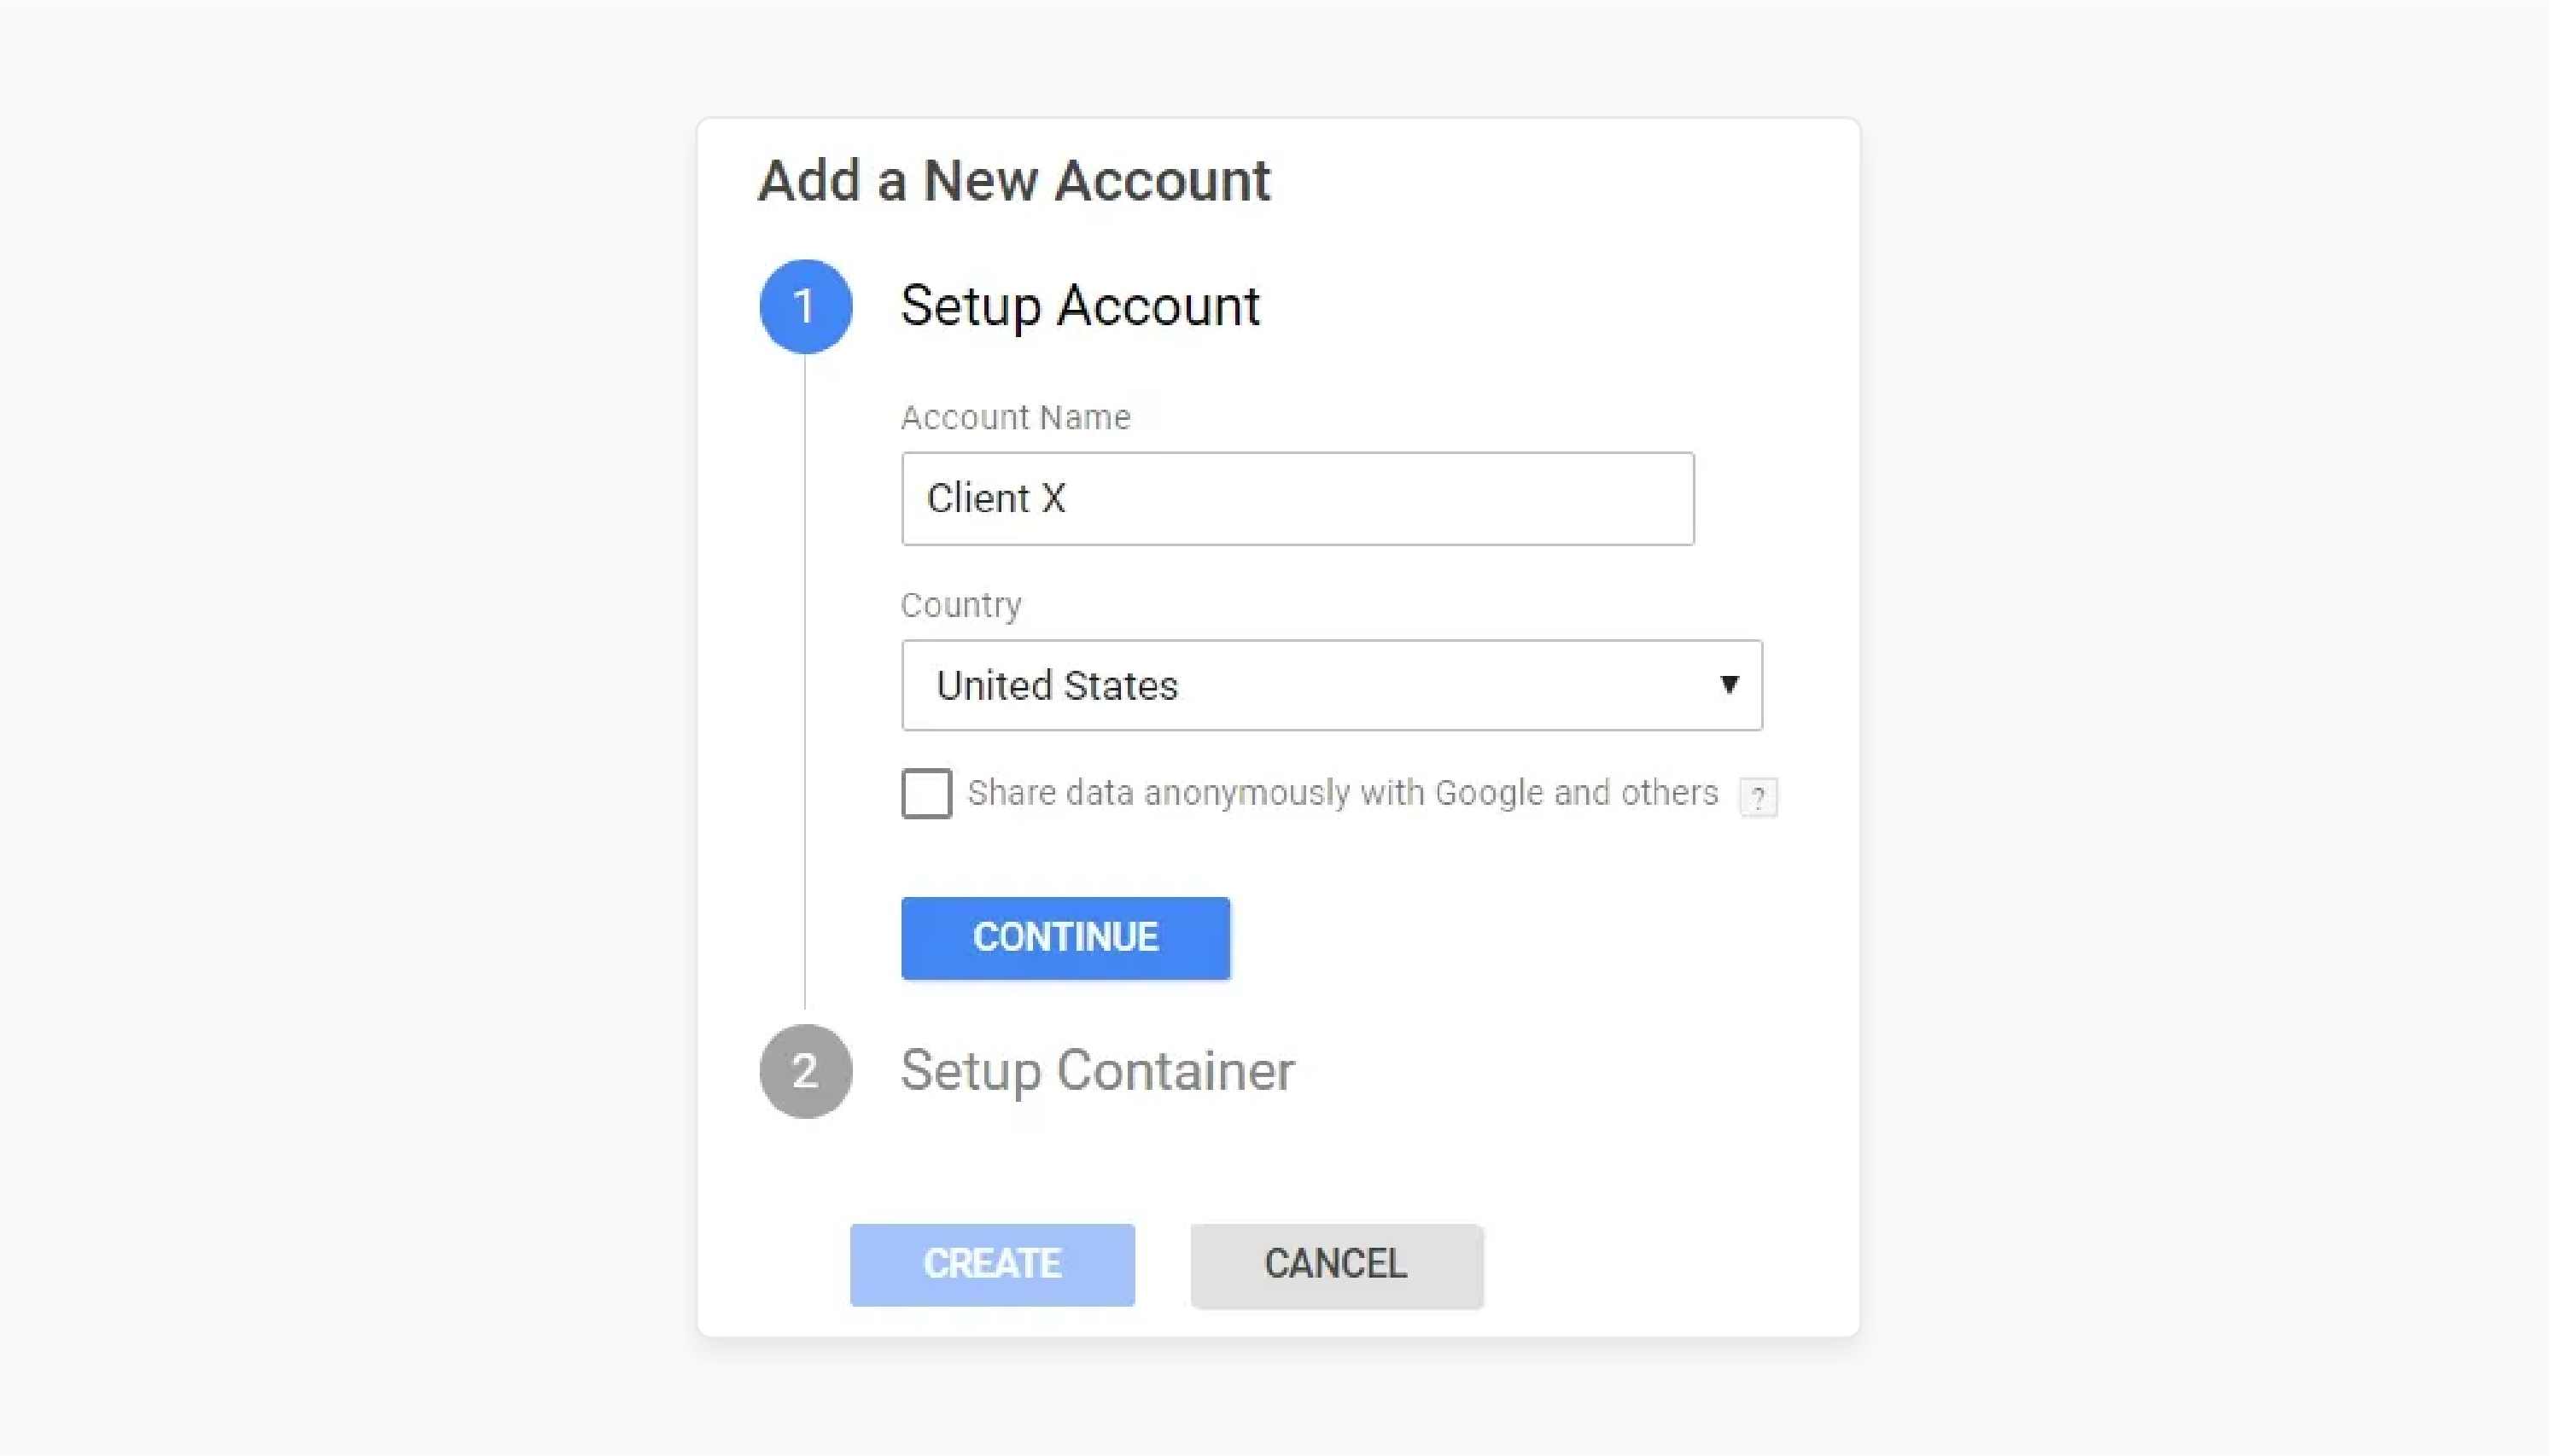
1. Creating a GTM Account and Container

-
You start by creating a Google Tag Manager account. Once you create the account, create a "container" for your website or app.
-
GTM provides a container snippet of code, which you add to every website page.
-
The snippet acts as the gatekeeper. It loads and manages all tags you configure in the GTM interface.
-
Insert the container script into the <head> and <body> sections of your site’s HTML.
2. Adding Tags

-
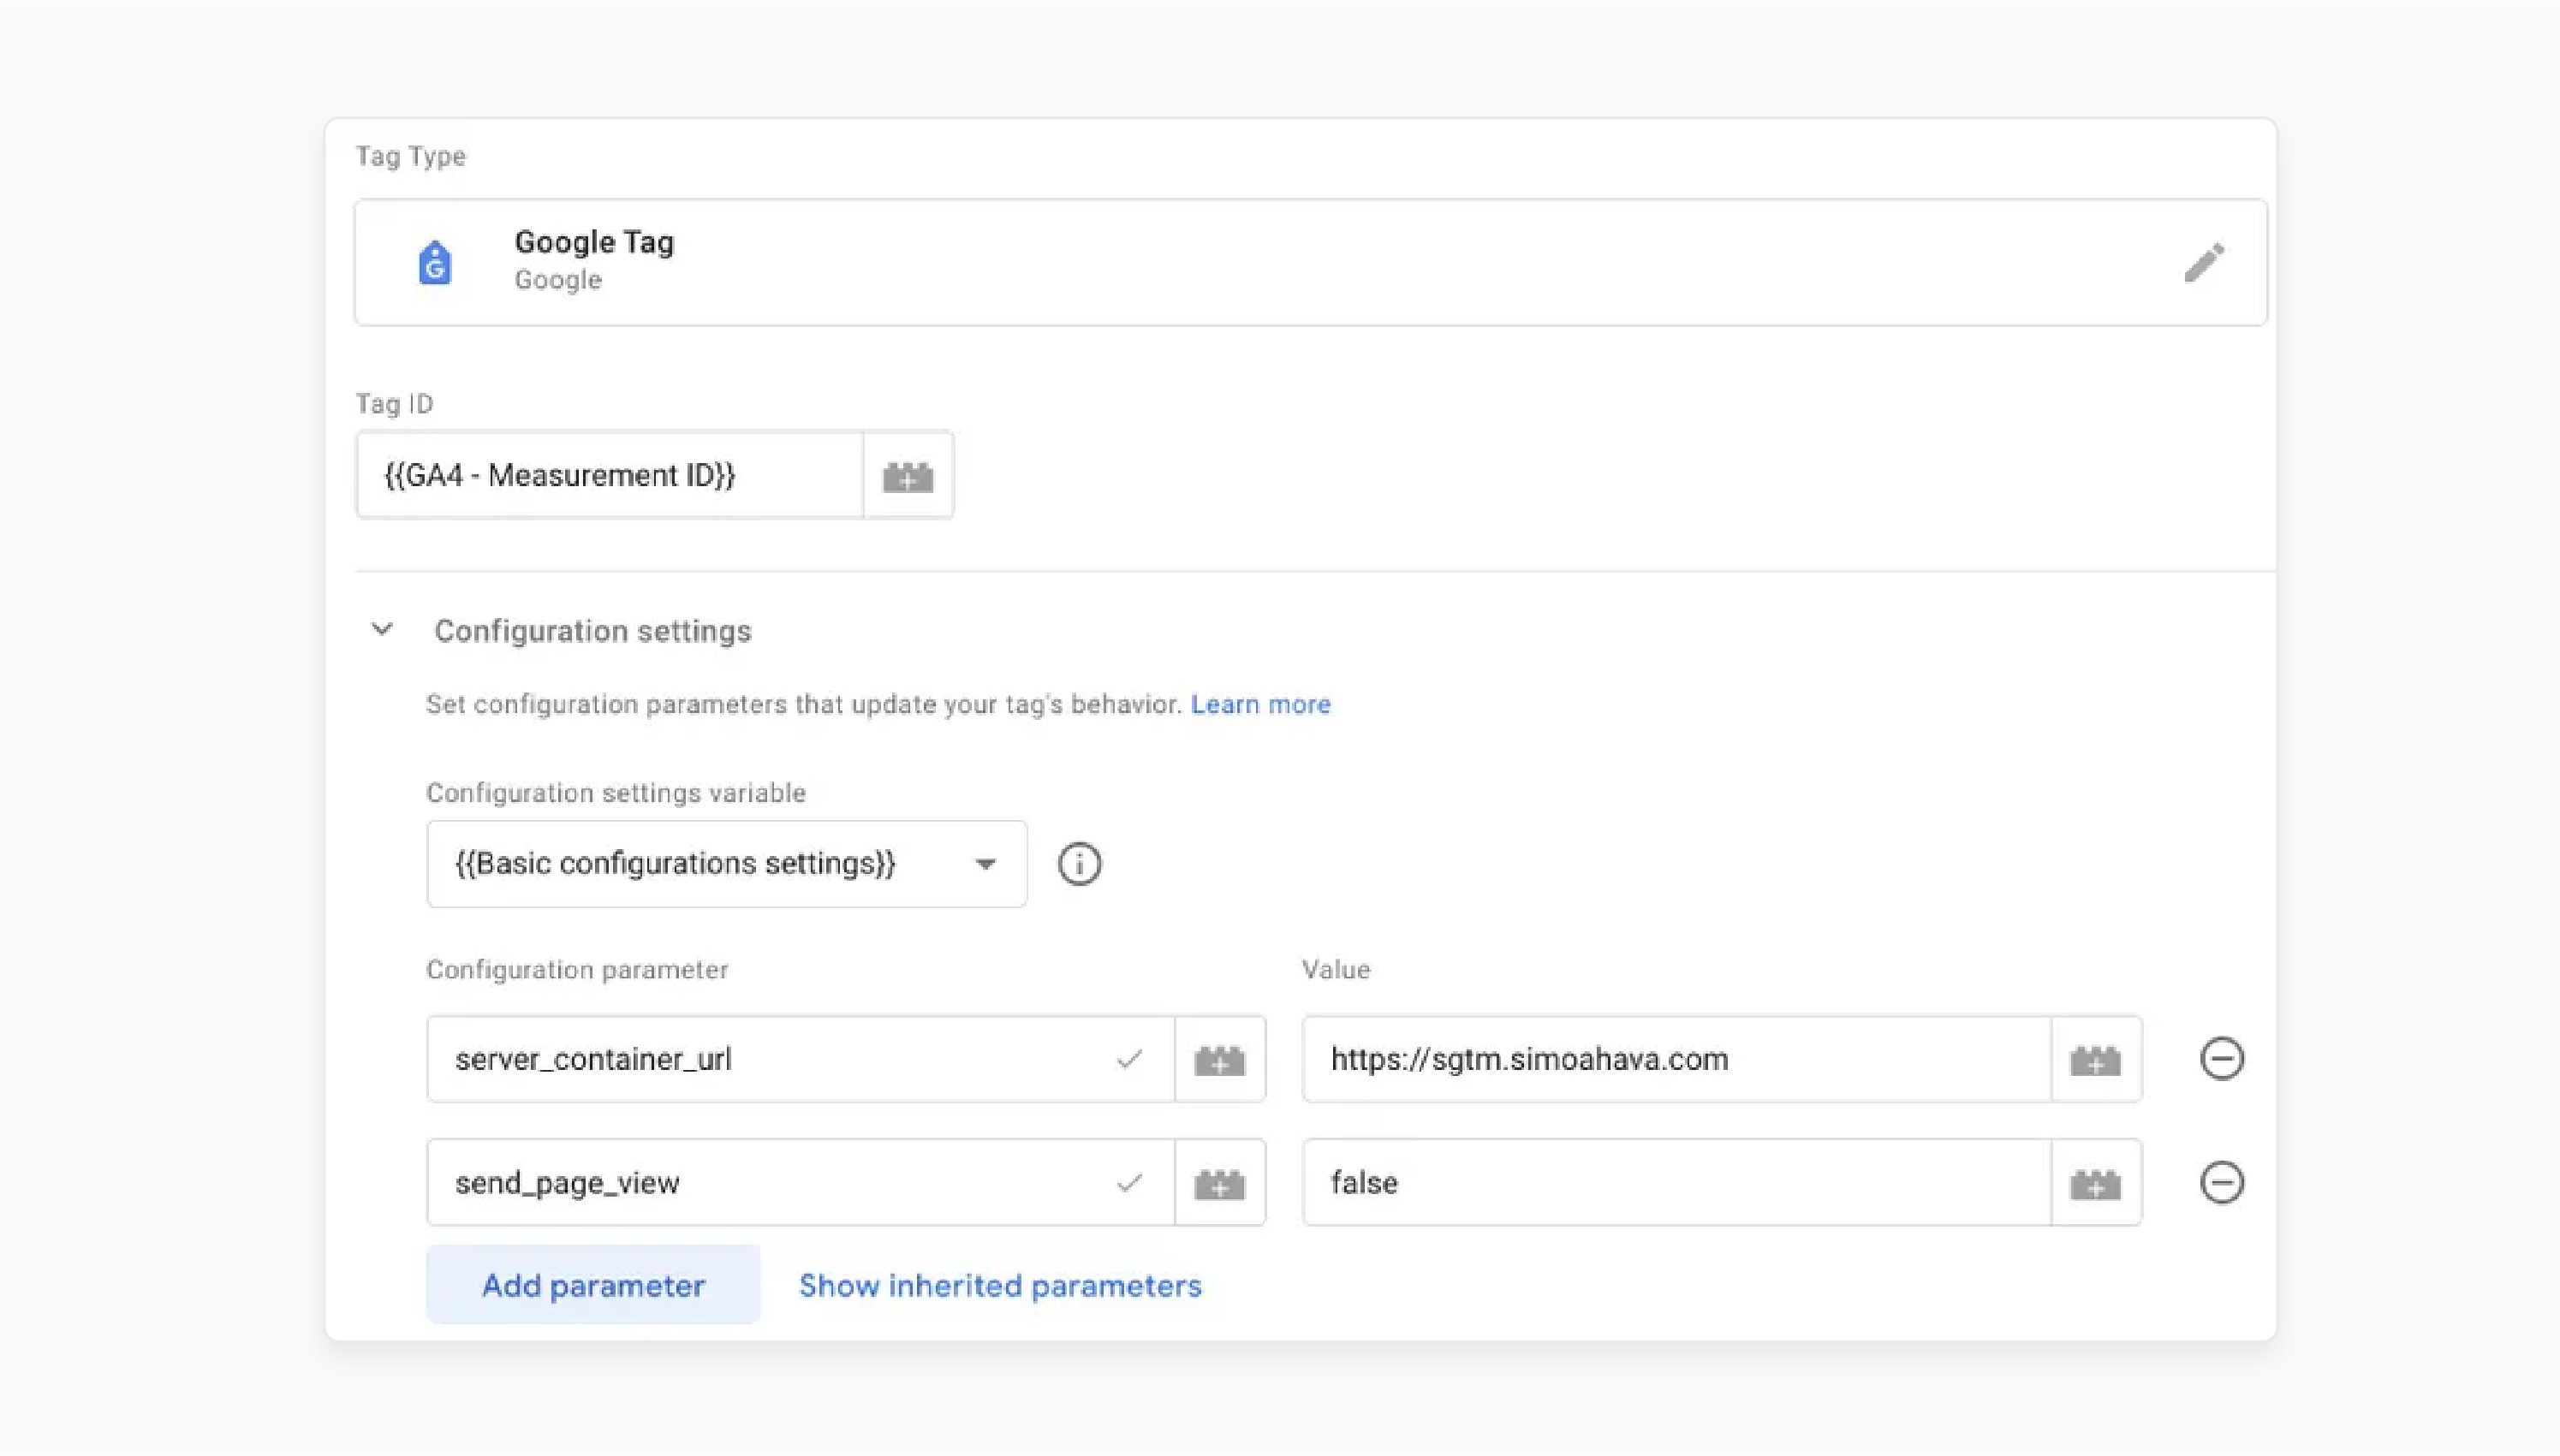
Tags are small pieces of code used to collect and send data to third-party services. These include Google Analytics and Facebook Pixel.
-
Each tag serves a specific purpose. These include tracking page views or user interactions on the website.
-
GTM offers several pre-built tag templates for popular services, like Google Ads. It helps them integrate them into your website.
-
You can create custom HTML tags if the service you are using is not supported.
-
Once you create a tag, you define its parameters and customize its behavior on the website.
3. Setting Triggers

-
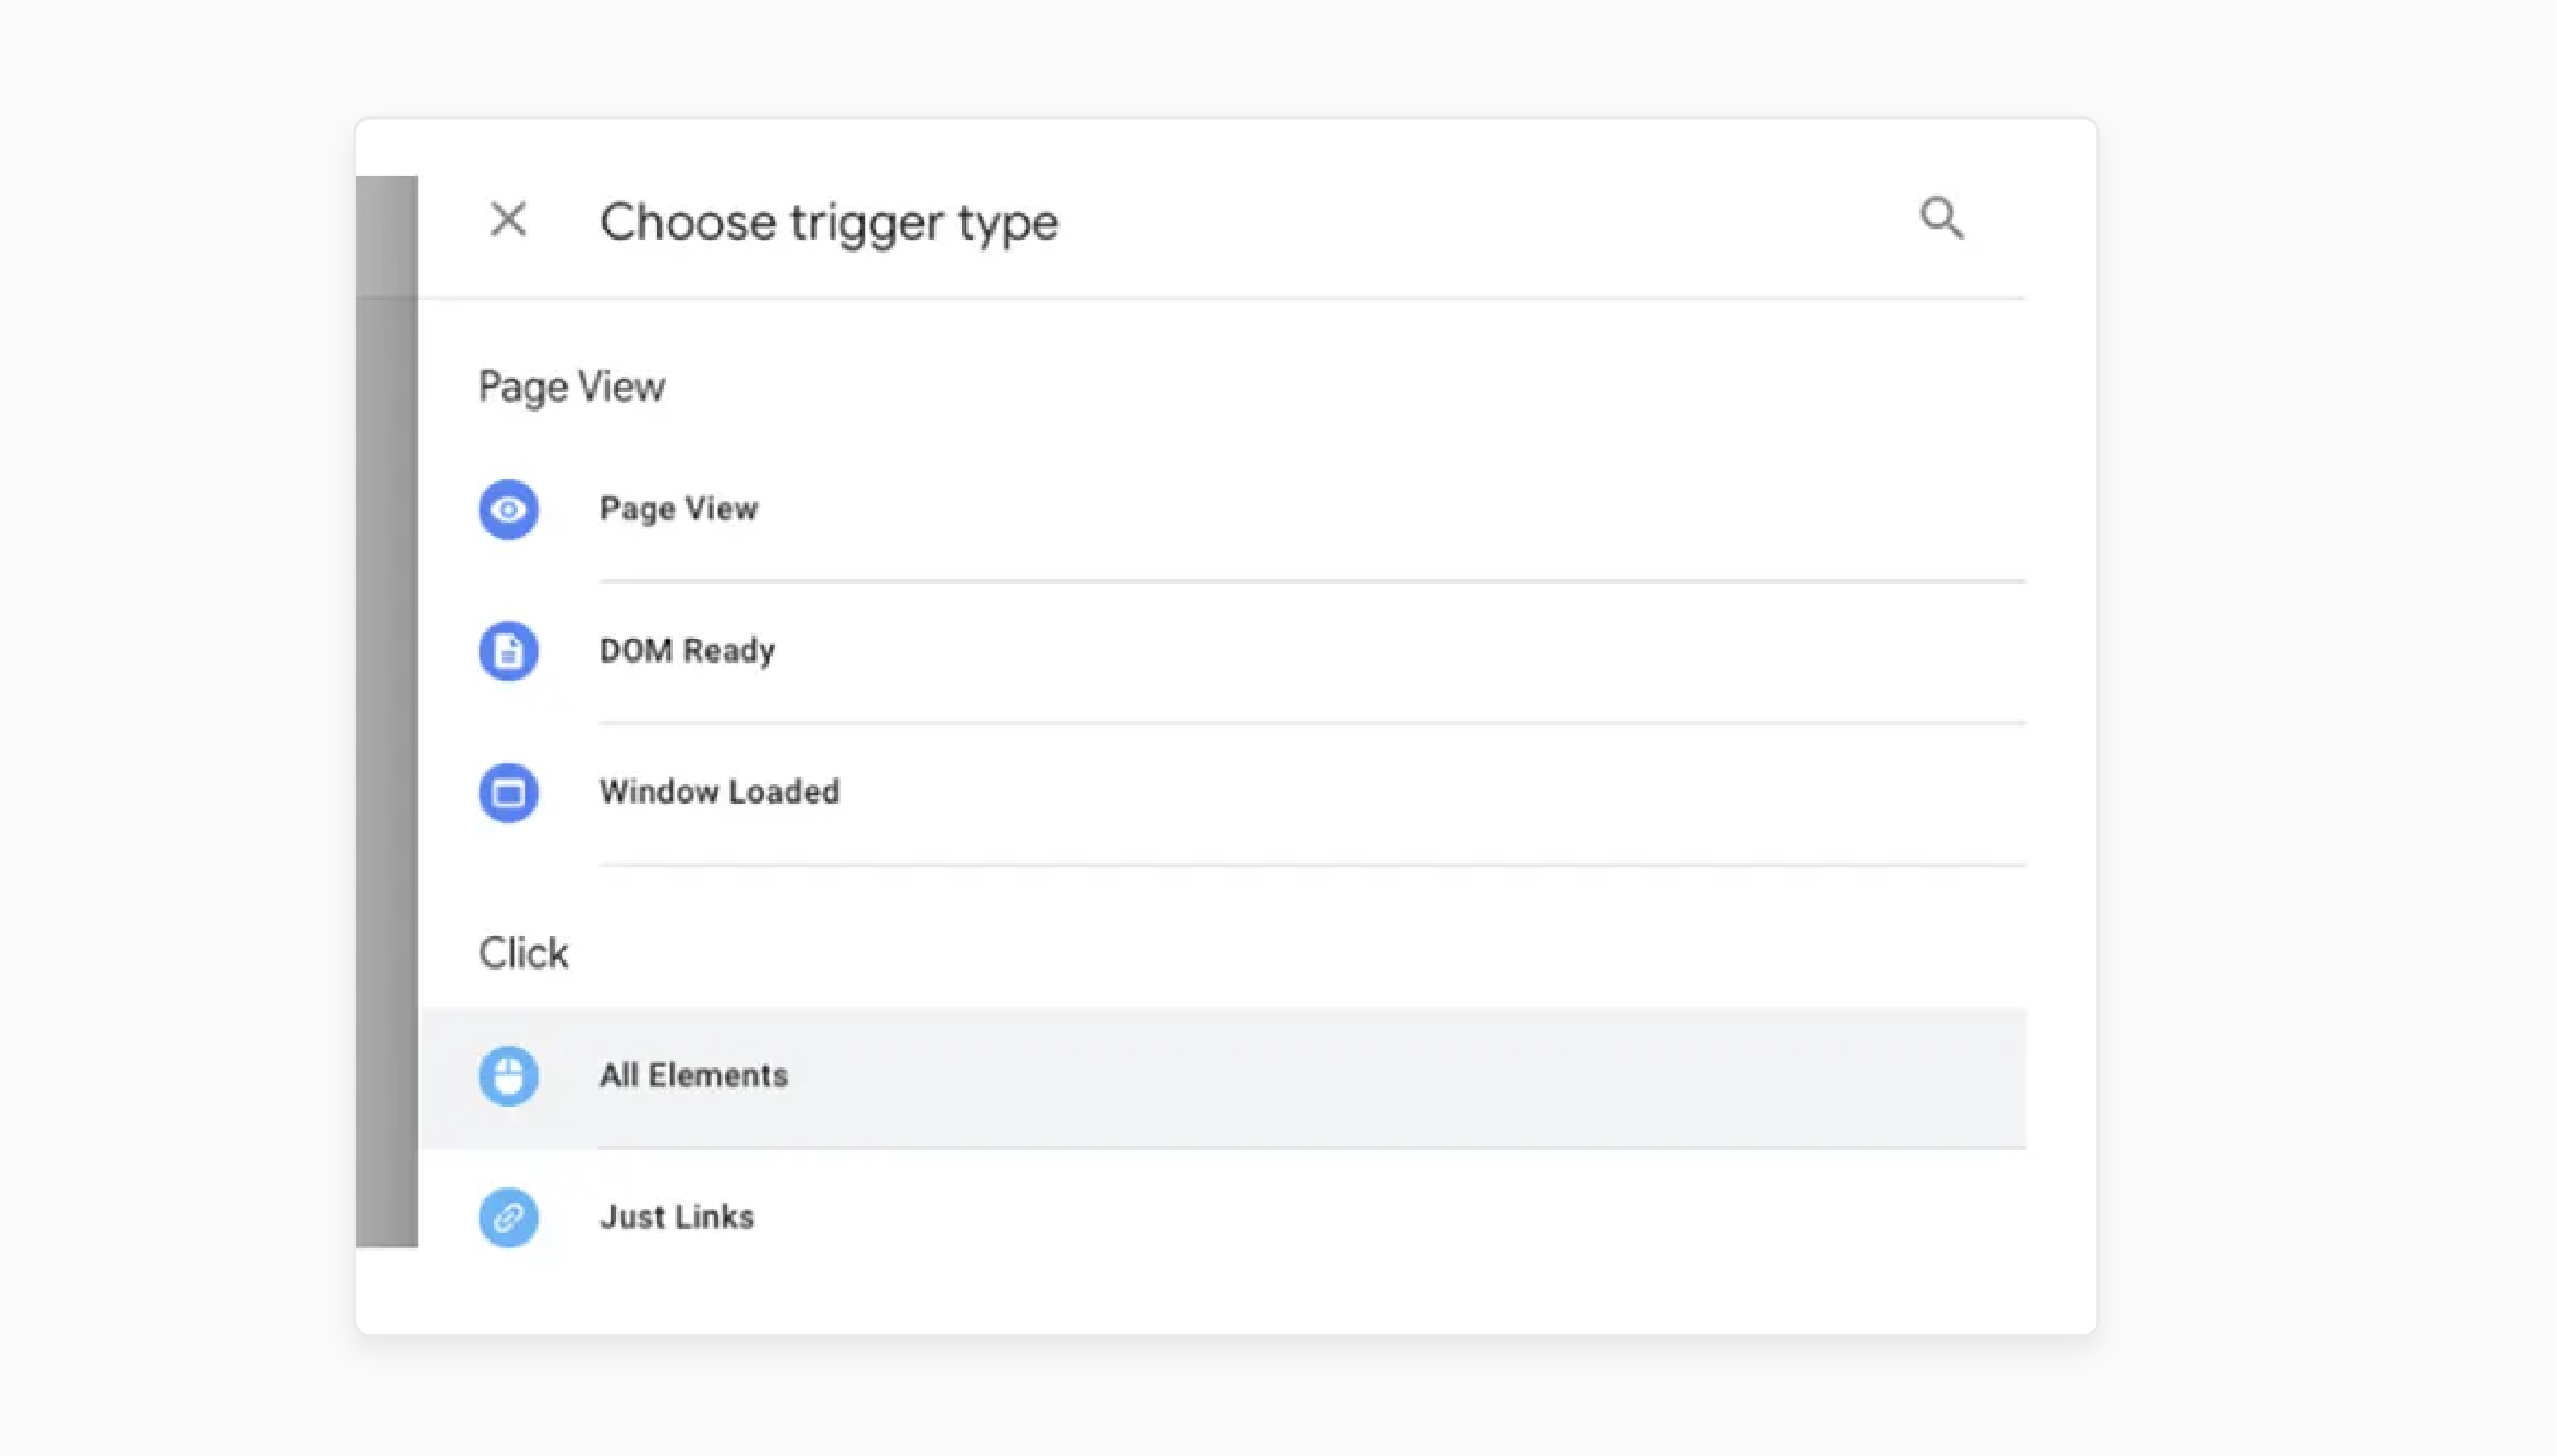
Triggers determine when and where you fire a tag. A tag should fire when a user visits a particular page or submits a form. The common trigger types include:
1. Page views fire when you load a page or visit a URL.
2. Click events fire when a user clicks a specific element on a page, like a button or a link.
3. Form submission fires when a user submits a form.
4. Custom triggers depend on more complex user actions. These include interacting with specific dynamic content on the site.
4. Preview and Debug

-
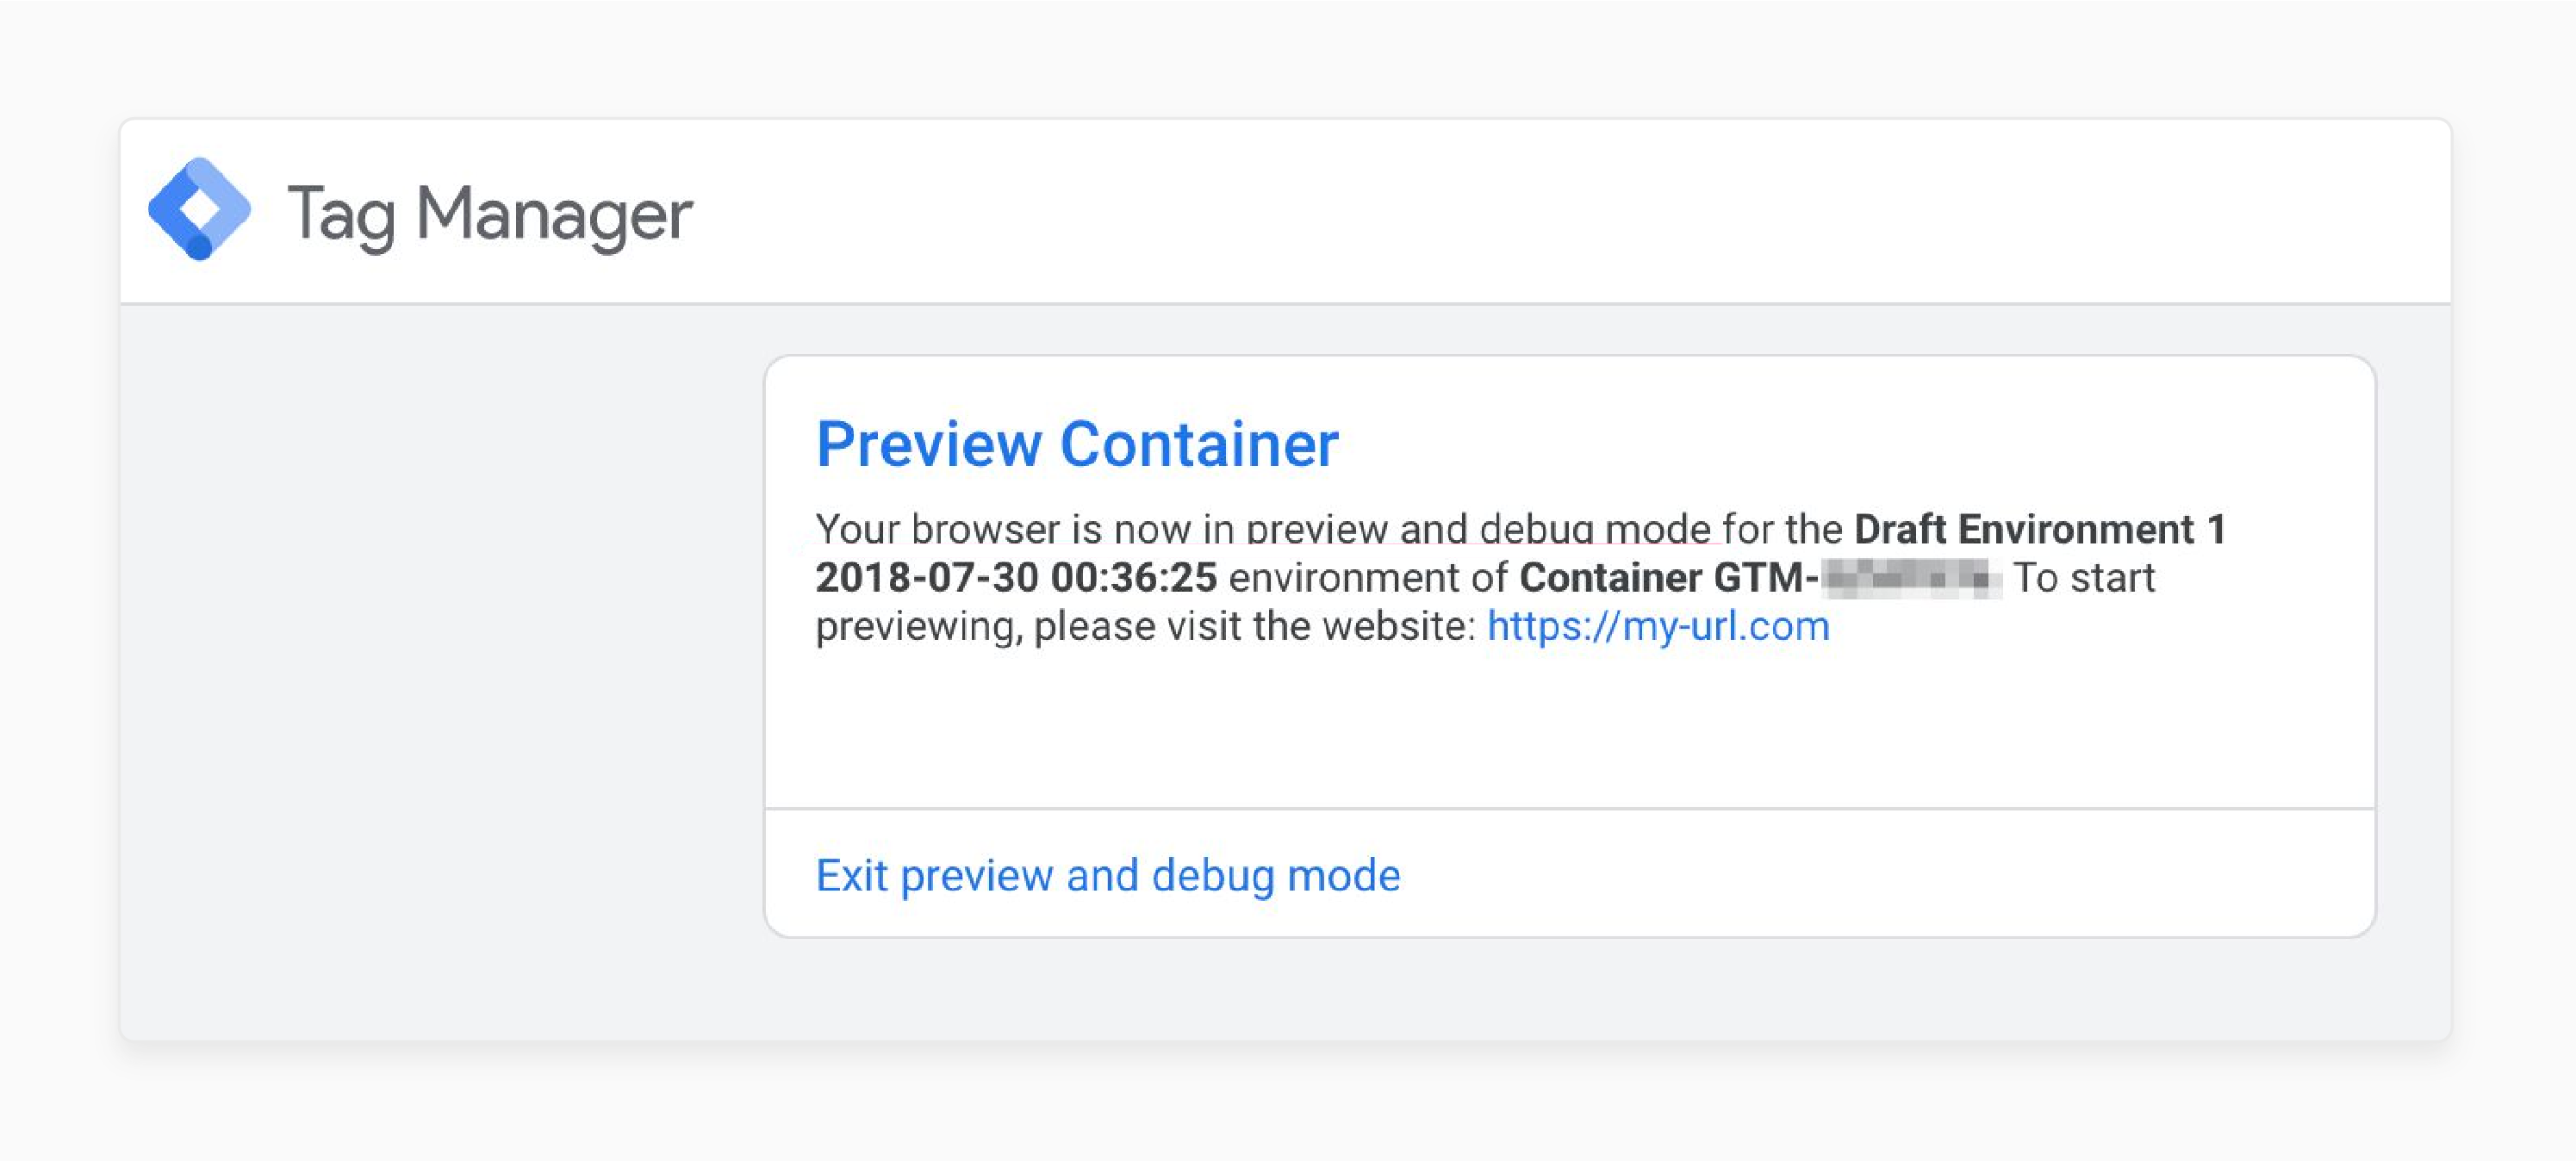
Before publishing your tags, Google Tag Manager for Magento 2 provides a preview mode. It allows you to test how the tags and triggers behave on your site in real-time.
-
You can see which tags are firing and check for any potential issues.
-
GTM also provides a debugging console. It allows you to view information about tag activity.
-
It helps you troubleshoot any problems with tags that are not firing as expected.
5. Tracking and Analytics
-
Once live, the container script on your website loads the tags based on the triggers you have set up.
-
If you configured a page view trigger for Google Analytics. GTM will fire the Google Analytics tag whenever the user visits a page.
-
Tags can track a wide range of user behaviors. These include page views and e-commerce transactions. Send the data to the respective services, such as Google Analytics or Google Ads.
-
Use the collected data to refine marketing campaigns and assess website performance.
April 2025 GTM Update: Automatic Google Tag Loading
1. What is Changing
Google Tag Manager now injects essential Google tags into any site using GTM. These include:
-
Google Analytics 4
-
Google Ads conversion tracking
-
Google Ads remarketing tags
It means:
-
No more manual addition of Google Analytics tags in Google Tag Manager (GTM).
-
Simplified tracking setup for Google's marketing products.
-
Improved accuracy in tracking implementation.
-
Better website performance through optimized tag loading.
-
Enhanced privacy compliance through improved consent management.
2. Impact on Magento Stores
For Magento 2 store owners, the update brings several advantages:
-
No more manual creation of GA4 or Google Ads tags in GTM. It offers a simplified setup.
-
The tags now load better, which can help improve website speed and performance.
-
The automated tag injection reduces the risk of missing data. It leads to more accurate tracking.
-
The update improves consent management for better privacy control.
3. Preparation Checklist
To ensure everything goes smooth, you should:
-
Check your current Magento 2 GTM configuration. It helps ensure the setup aligns with the new automatic tag loading.
-
If you have made custom modifications to Google tags. You should ensure they are compatible with this update.
-
Make sure your Magento data layer structure aligns with the changes.
-
Once the update is live, test the tracking to ensure everything works as expected.
-
After the update, track performance and make adjustments if necessary.
4. Impact on Third-Party Tracking
The update prioritizes Google tags, so third-party tags, like Facebook Pixel, may load:
-
Ensure that non-Google tags have the appropriate trigger conditions.
-
Test how third-party tracking tags behave after the update.
-
If needed, adjust the loading sequence. Consider server-side tagging for non-Google pixels.
The update helps improve the ease of setup. It also enhances compliance for Magento merchants using GTM.
5 Advanced GTM Configurations for Magento
1. Server-Side Tagging Implementation
Server-side tagging processes data on a server rather than in the user's browser. It offers several benefits, including:
-
Offloading tag processing from the client-side reduces the load on the user's browser. It improves the performance.
-
The browser stores fewer cookies, which enhances user privacy.
-
You can process and clean data before sending it to marketing platforms. It gives you more data control.
Steps:
1. Create a GTM Server container in your Google Tag Manager (GTM) account.
2. Set up a cloud server, such as Google Cloud or AWS, to run the container.
3. Create a new client in the GTM server container to receive hits from your web container.
4. Set up tags for your marketing platforms in the server container. These include Google Ads and Facebook Pixel.
5. Change your Magento GTM setup to send data to the server container. It replaces the traditional client-side tags.
2. Setting Up Conversion Tracking for Google Ads
With the April 2025 update, Google Ads conversion tracking is more straightforward.
Steps:
1. In your GTM account, link your Google Ads account for smooth integration.
2. In GTM, activate the automatic conversion tracking setting for Google tags.
3. Set up the desired conversion actions, such as purchases or sign-ups, in Google Ads.
4. Test and verify that conversions are being recorded within Google Ads.
3. Implementing Facebook Pixel via GTM
Facebook Pixel tracking enables you to measure conversions. It also helps build targeted audiences for retargeting.
Steps:
1. Go to Meta Business Manager and create a Facebook Pixel.
2. Add a custom HTML tag in Google Tag Manager (GTM) containing the Facebook Pixel code.
3. Use GTM triggers, such as PageView and Buy, to track key events.
4. Ensure that your Magento store’s data layer is set up. It helps pass e-commerce data such as product details and prices to Facebook.
4. Creating Custom Triggers for Magento-Specific Events
Magento has specific user actions that you can track for better insights:
-
Wishlist Additions
-
Customer Account Creation
-
Newsletter Subscriptions
-
Product Comparisons
Steps:
1. Set up custom JavaScript or Magento triggers in your data layer for each event you want to track.
2. In GTM, create corresponding triggers based on these custom events.
3. Link appropriate tags, such as Google Analytics or Facebook Pixel, to these triggers.
5. Using Google Consent Mode with GTM in Magento
Google Consent Mode enables you to customize the behavior of Google tags. This is following user consent for data processing.
Steps:
1. In your GTM container, enable the Google Consent Mode setting.
2. Use a consent management platform to collect and store user consent choices.
3. Adjust Google tags to respect the consent mode preferences. It ensures that data is only processed when you grant consent.
Real-World Use Cases of Magento Google Tag Manager
1.

-
HP aimed to retarget high-intent users who browsed products but didn’t convert.
-
Using GTM, they deployed dynamic remarketing tags from Google Ads. These tags pulled product data from Magento’s catalog. It helps create personalized ads based on users’ site activity.
-
The dynamic ad strategy resulted in a 22% increase in return on ad spend (ROAS). It also enhanced re-engagement with existing prospects.
2. Nestlé Nespresso

-
Nestlé Nespresso needed to meet strict data privacy standards under the GDPR and CCPA.
-
They adopted server-side Google Tag Manager with their Magento setup. It allowed them to shift third-party tags away from the browser to a secure server container.
-
The approach ensured better control over the sharing of data with platforms. It also improved compliance. It also reduced site load times by removing bulky client-side scripts.
-
They achieved a 20% improvement in page speed and a reduction in bounce rates.
3. MADE.COM

-
MADE.COM wanted to make data-driven UX decisions. They lacked the flexibility to change front-end code in Magento.
-
By integrating Google Optimize through GTM, they launched A/B and multivariate tests. They launched it on homepages and banners. It didn’t need developer intervention.
-
Through testing variations, they discovered which design elements drove more engagement and conversions.
-
It led to a 12% boost in sales, highlighting the power of agile experimentation.
FAQs
1. Does Magento 2 support server-side tagging with GTM?
Magento 2 can work with server-side Google Tag Manager (GTM) implementations. It requires setting up a Google Tag Manager (GTM) server container. Configure your client-side container to send data to the server container.
2. How does the April 2025 GTM update affect my Magento tracking setup?
The update injects Google tags into your site. It simplifies setup for Google Analytics and Ads. Review your existing configuration to ensure compatibility. Check that third-party tags still function.
3. Can I use GTM with third-party analytics tools in Magento?
GTM works with any marketing or analytics platform. It provides JavaScript tracking code, including Hotjar and TikTok Pixel.
4. Is GTM integration different for Magento Commerce vs. Open Source?
The basic process is similar for both versions. Magento Commerce may offer extra features or integrations. Extensions work with both versions, but it is always recommended to verify compatibility.
5. How often should I update my GTM configuration in Magento?
Review your configuration quarterly and after major marketing changes. Check for updates whenever Google releases significant GTM features. Also, check when your Magento store undergoes major changes.
6. What are the performance implications of using GTM with Magento?
When implemented, GTM has minimal impact on performance. For best results, limit the number of tags and use asynchronous loading. Also, consider server-side tagging for larger implementations.
Summary
Magento Google Tag Manager simplifies marketing tag management without needing direct code changes. The article explores the key points of the tool, including:
-
GTM setup involves creating a container, adding tags, and testing through preview.
-
Manual integration offers flexibility and control, while extensions provide easier setup.
-
The April 2025 update enables automatic loading of Google tags for better speed.
-
Configurations like Facebook Pixel and Google Consent Mode enhance GTM's power.
Maximize your store’s performance with smooth GTM integration. Choose managed Magento hosting to ensure faster and optimized tracking for your business.

