How to Use Magento Command Line Interface (CLI)?
The Magento CLI is an open source tool that helps manage Magento and its modules from the command line. It facilitates various operations, from the installation of Magento 2 to the configuration and upgrading of the application.
This tutorial will introduce you to the fundamental aspects of Magento CLI. It guides users in performing routine tasks, such as managing store cache and indexing, using the Magento CLI.
-
Prerequisites Before Running Magento 2 Command Line Interface
-
Basic Tasks You Can Perform Using Magento Command Line Interface
Key Takeaways
-
Learn how to efficiently run tasks, manage cache, and deploy static views in your Magento 2 store.
-
Automate cron jobs, enhancing system functionality and saving time on routine processes.
-
Master configuration through CLI commands, ensuring accurate setup and deployment for your Magento store.
-
Explore deploying static views to boost site speed to ensure a seamless shopping experience for customers.
-
Understand the importance of cache management and how it impacts the overall performance of your Magento store.
-
Use Magento CLI for testing purposes without disrupting the live site.
Introduction to Magento CLI

Magento CLI is a text-based user interface that allows users to perform intricate installation and configuration tasks on Magento 2 stores. Users use text commands to engage with the system or application (Command Lines). It consists of a suite of commands accessible within the Magento root directory. It enables control over various aspects such as cache, cron jobs, and indexers.
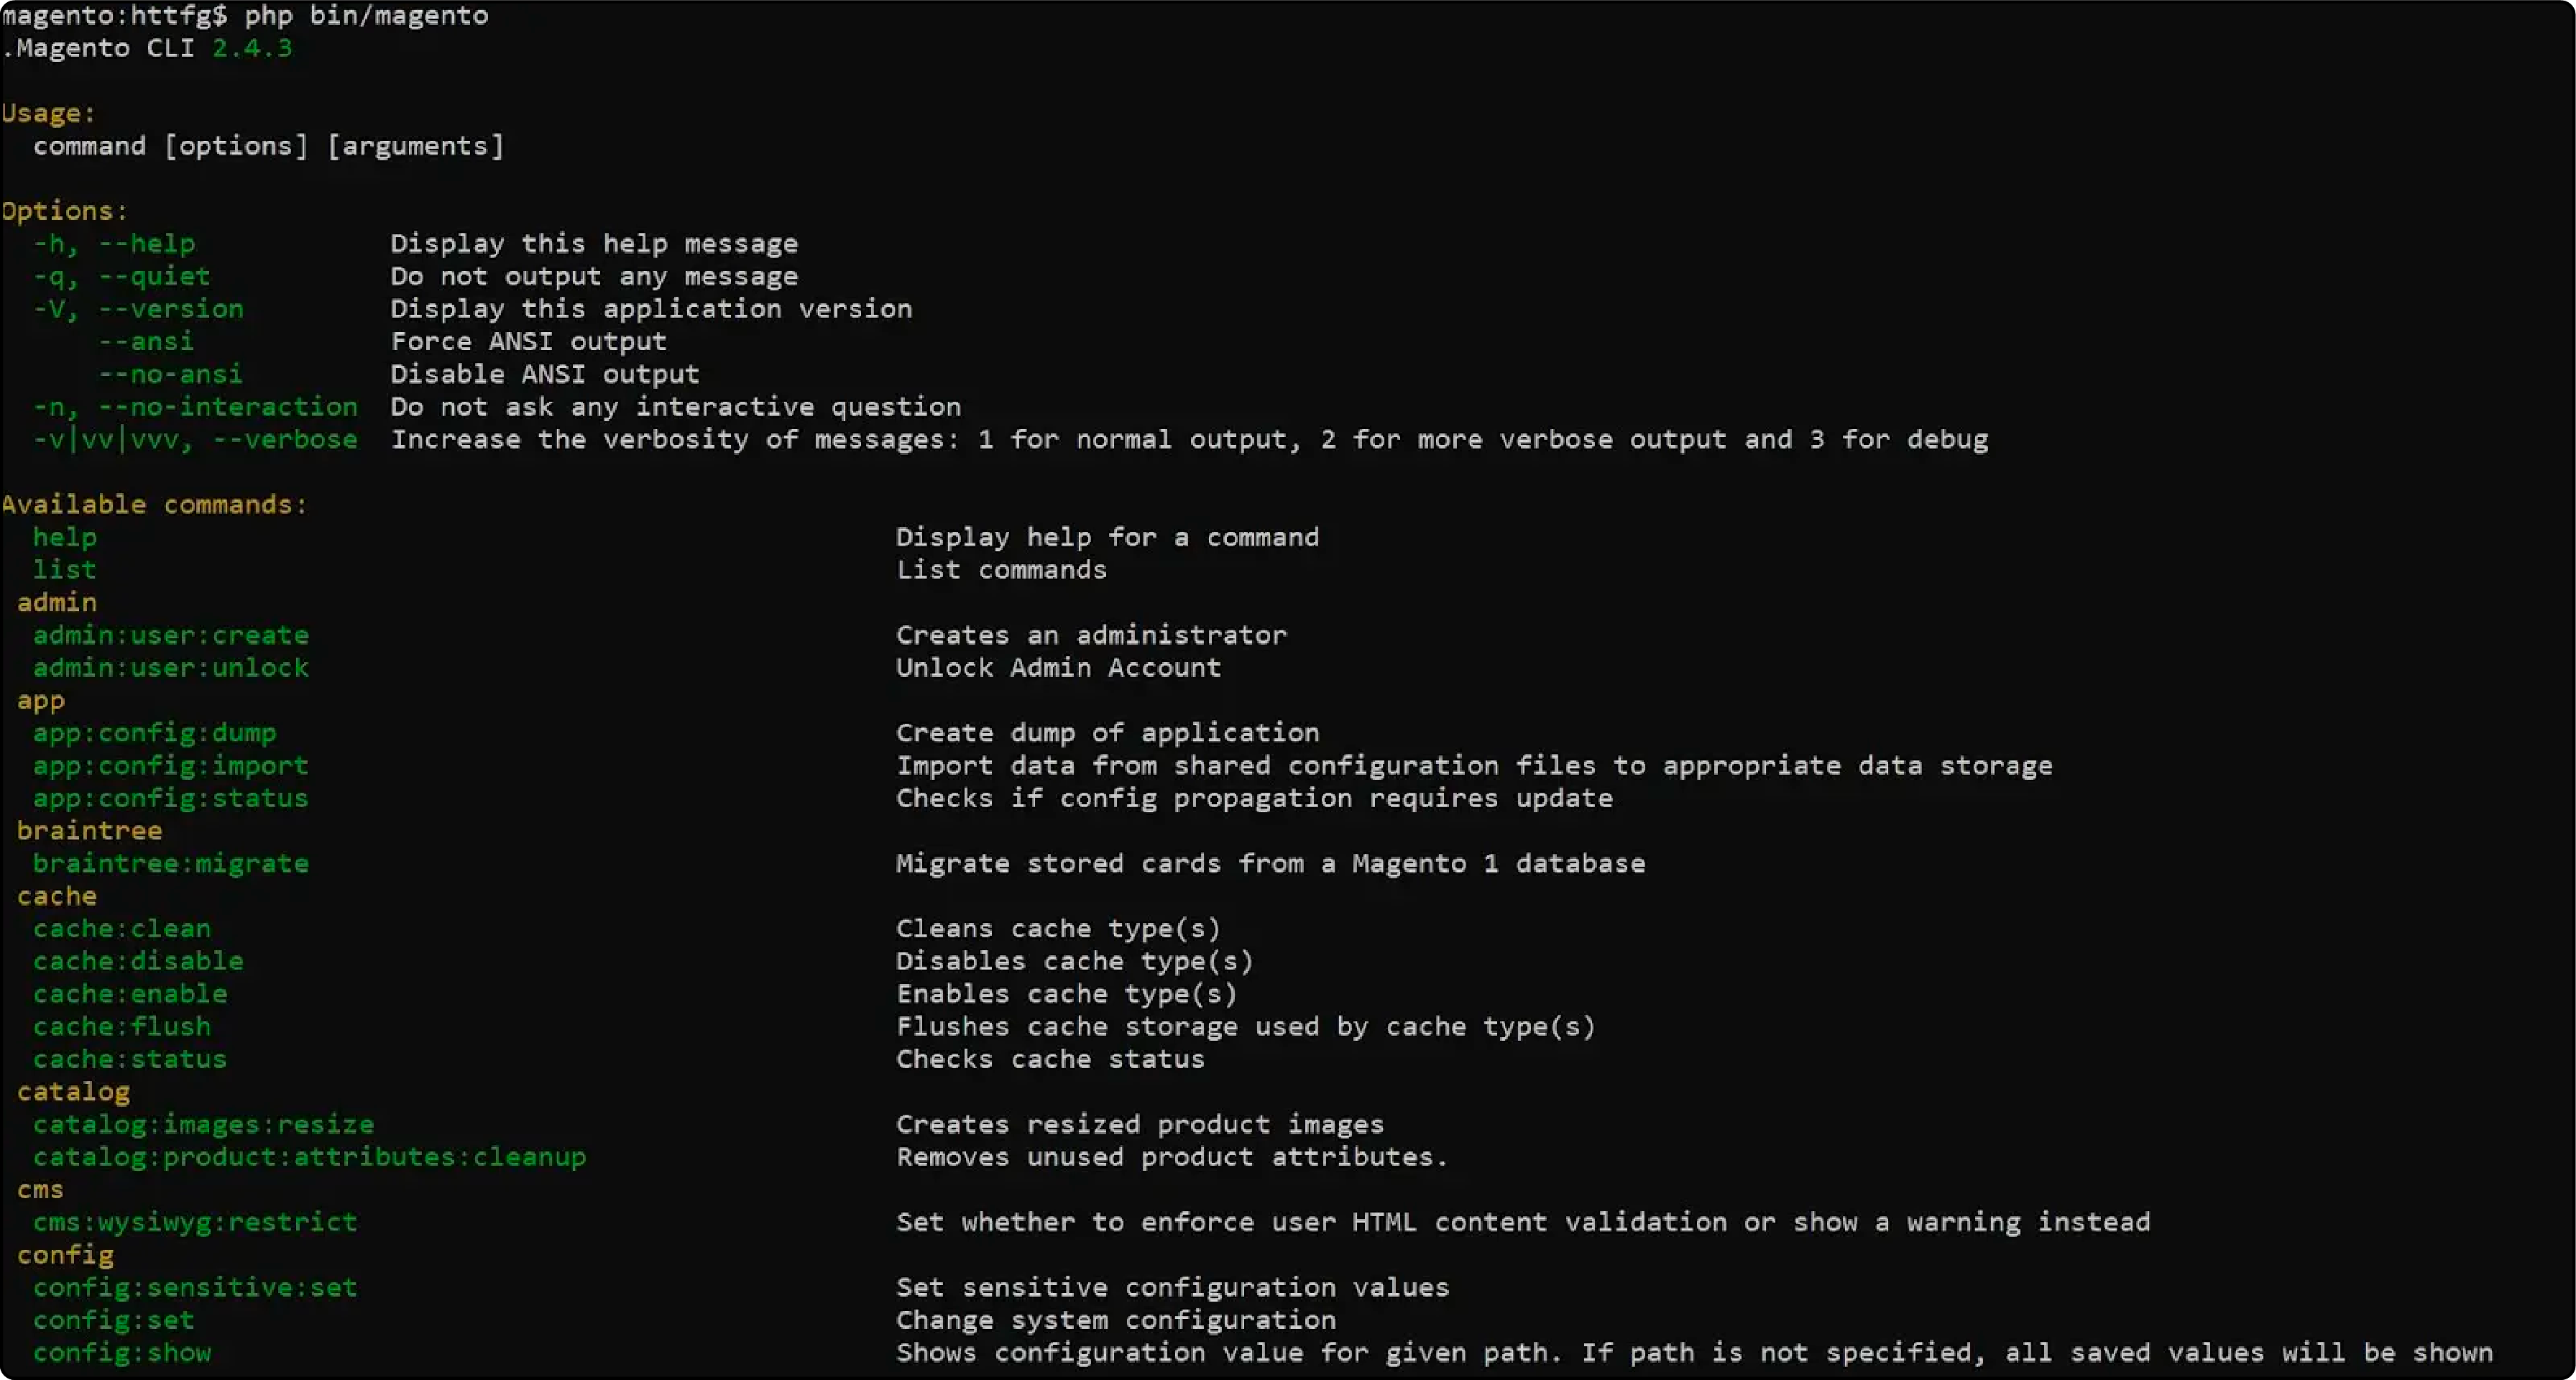
You'll find the Magento CLI within every Magento installation's <project-root>/bin/ directory. To access it, navigate from the Magento root directory using the following command:
php bin/magento
Note: Using “php” before bin/magento is optional. Your operating system will automatically find the global PHP variable to execute the command.
The above command will output the Magento CLI help page to your terminal screen. You will get the list of Magento 2 command lines available. The list includes custom command lines.

Magento CLI Command Naming Format
Magento CLI commands follow a specific naming convention. The format is: group:[subject:]action
It includes:
-
Group: This part represents a category of related commands. It helps organize commands based on their functionality.
-
Subject: While optional, it's valuable for providing additional context to the command. You can use multiple words for the subject, separated by dashes or hyphens.
-
Action: This part signifies the specific action the command will perform, such as starting or stopping a process.
For example, to deploy static content in Magento 2, you use this command:
$ php bin/magento setup:static-content:deploy
In this command:
-
$ php bin/magentois the group. -
setup:static-contentis the subject. -
deployis the action.
Prerequisites Before Running Magento 2 Command Line Interface
-
Your Magento installation must meet the system requirements outlined in the official Magento documentation.
-
Ensure
Php_cliis installed on your Magento 2 by default with PHP. If you don’t seephp_cli, navigate to your Magento 2 root folder and run:
php bin/magento
Note: If you encounter a 'PHP Parse error,' it's highly likely that you are using an incorrect PHP version. To verify your current PHP version, simply type the following command into your command line: php -v
- Ensure you use the Magento 2 file system owner when executing CLI commands. It ensures proper file permissions and avoids potential issues.
Basic Tasks You Can Perform Using Magento Command Line Interface
1. Install and Add Magento 2
To install Magento 2, you can use the setup:install command. For example:
$ bin/magento setup:install \

--base-url=https://example.com \

--db-host=localhost \

--db-name=magento \

--db-user=magento_user \

--db-password="****************" \

--admin-firstname=bob \

--admin-lastname=smith \

--admin-email=email@example.com \

--admin-user=bob \

--admin-password=********* \

--language=en_US \

--currency=USD \

--timezone=America/Chicago \

--use-rewrites=1
2. Configure Magento 2 Cron
Magento 2 relies on cron jobs for automating essential tasks such as scheduled index updates and order email dispatch. To set up and manage cron in Magento 2, use the following commands:
- Generate and Install Cron: This command initializes the cron system within Magento 2.
$ bin/magento cron:install
- Manual Cron Execution: Use this command to trigger cron jobs manually.
$ bin/magento cron:run
3. Manage Magento 2 Indexers
Magento employs indexing to synchronize storefront data with the database. It includes stock information, product pricing, and customer details.
- View and manage all indexers on your store using the following command:
$ bin/magento indexer:info
- Set the indexer mode type to “realtime” or “schedule” using:
$ bin/magento indexer:set-mode schedule [index-name]
- Manually reindex the indexers by running the following command:
$ bin/magento indexer:reindex
4. Configure Security Features for Magento 2
Magento 2 incorporates several built-in security features to safeguard your ecommerce store. These features include Two-factor authentication (2FA), reCAPTCHA, etc. You can efficiently manage these security features using the Magento CLI to:
- Disable reCaptcha for admin users using the following command:
$ bin/magento security:recaptcha:disable-for-user-login
- Reset Two-Factor authentication for admin users using the following command:
$ bin/magento security:tfa:reset <username> <provider-code>
5. Deploy and Execute Static View Files
Magento optimizes store performance by generating static view files, including CSS and block HTML. These files are then served from the cache in a production environment. It helps to enhance your online store's speed and responsiveness to provide a seamless shopping experience for customers.
- To deploy Static View Files in Magento 2 from the Command Line Interface (CLI), run the following CLI command:
$ bin/magento setup:static-content:deploy
- To modify the command to exclude certain themes and deploy static content for a specific store view, run:
$ bin/magento setup:static-content:deploy en_US --exclude-theme Magento/luma
6. Set Magento Operation Mode to Production
The Magento application offers three distinct operating modes. They are:
- Default Mode
- Developer Mode
- Production Mode
Each mode serves specific functions for different operational requirements. For example, when testing code, the developer mode is optimal. If you're managing a live store, running it in production mode ensures enhanced performance and security.
To set the Magento operation mode to production from the CLI, run the following:
$ bin/magento deploy:mode:set production
7. Enable Maintenance Mode
Magento 2 offers a maintenance mode that restricts access to the frontend. It is useful during routine tasks like design and layout updates. To enable maintenance mode using the CLI, follow these steps:
- To enable Maintenance Mode: It activates maintenance mode, preventing access to the frontend while you perform updates or maintenance tasks.
$ bin/magento maintenance:enable
- To exempt IP addresses from Maintenance Mode: You can whitelist specific IP addresses. It allows them to access the frontend even when maintenance mode is active.
$ bin/magento maintenance:allow-ips <xxx.xxx.xxx.xxx>
8. Manage Magento 2 Modules and Extensions into Category
Magento 2 allows merchants to tailor their store design and functionality using third-party modules.
Adobe Commerce provides various module management commands grouped into the module: category. For example, to check the status of all enabled modules on your Magento store, run the following:
$ bin/magento module:status --enabled
It allows you to shape your ecommerce site to meet your unique needs and customer expectations.
9. Manage Magento 2 Cache and Refresh Page
Magento's cache management system enhances the store's performance. Magento employs various cache types. It includes layout, full page, and block HTML output caches.
- To gain insights into these caches' status, run the CLI command:
$ bin/magento cache:status
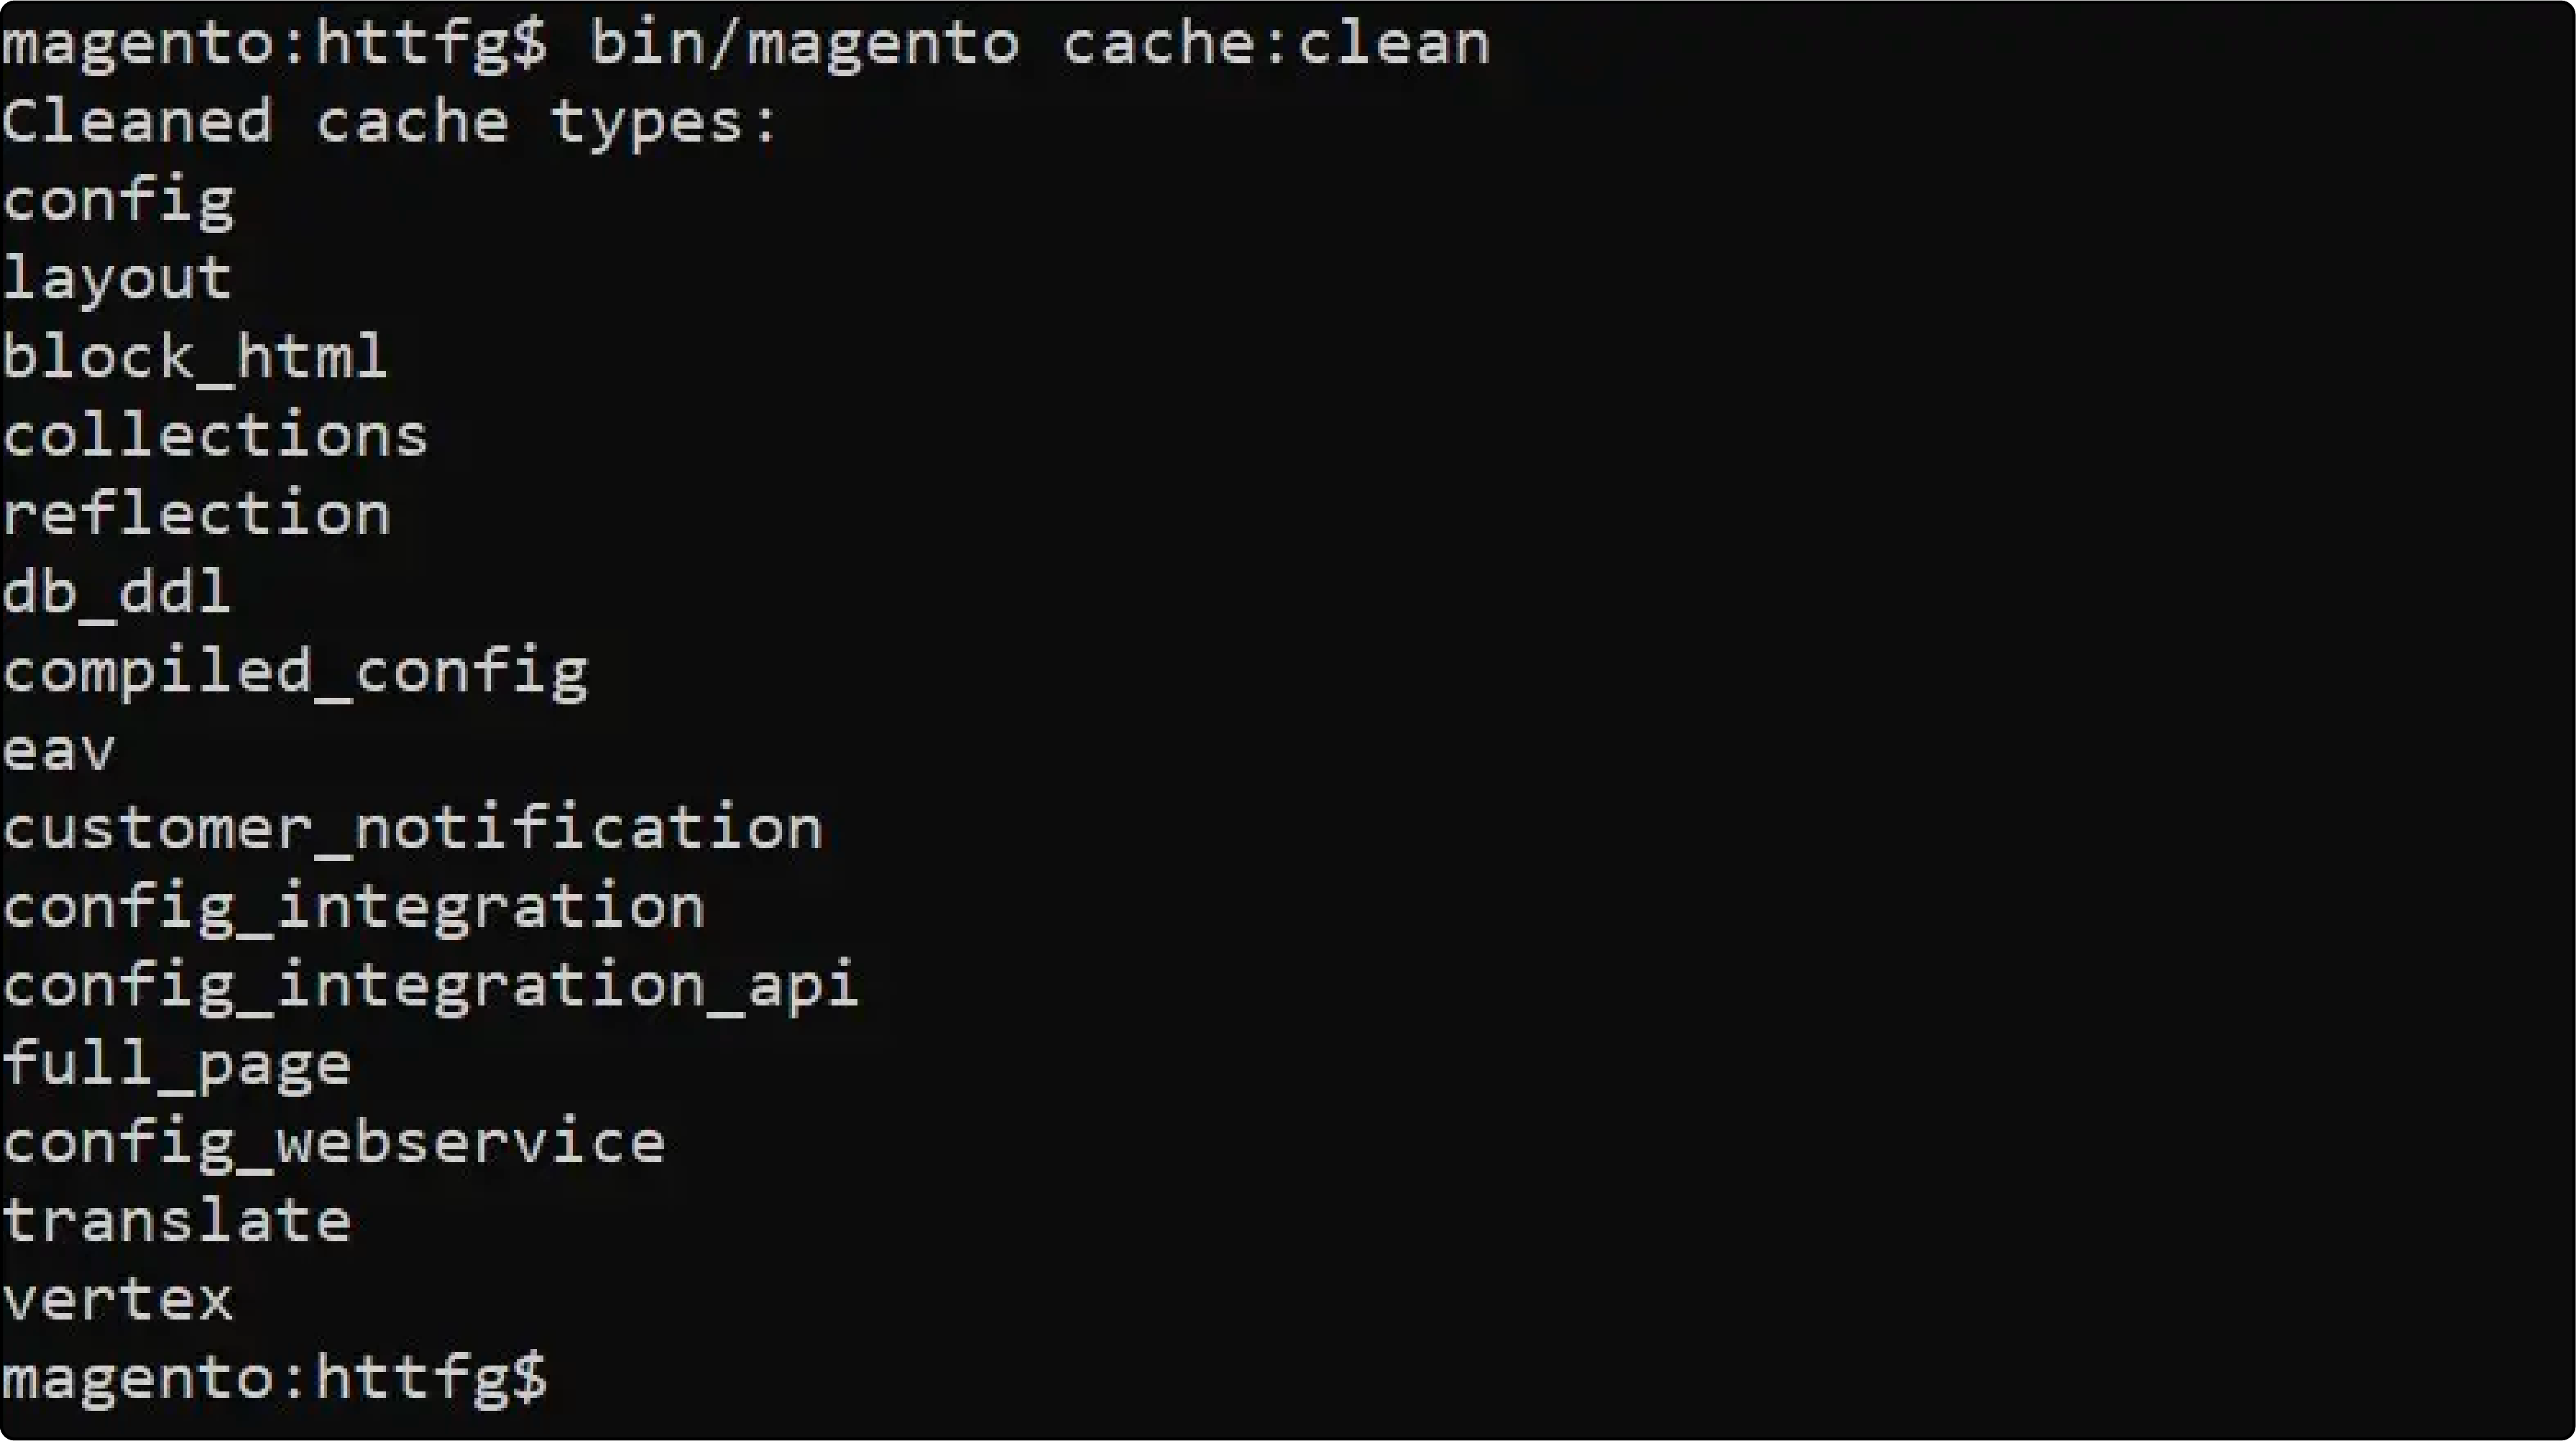
- To clear the Magento cache and refresh your store's content, run this command:
$ bin/magento cache:clean

10. Create New Admin Users
Magento CLI lets you create new administrators without logging in to the admin panel. You can do this by running the following:
$ bin/magento admin:user:create \

--admin-user ADMIN-USER \

--admin-password ADMIN-PASSWORD \

--admin-email ADMIN-EMAIL \

--admin-firstname ADMIN-FIRSTNAME \

--admin-lastname ADMIN-LASTNAME
Best Practices in Using Magento CLI
-
Clearing the Cache: With CLI, you can regularly clear the cache using
$ bin/magento cache:clean. It ensures your store serves up-to-date content and maintains optimal performance. -
Managing Indexes: It keeps your indexes in check by managing and reindexing when necessary using
$ bin/magento indexer:reindex. -
Translation Management: Magento CLI helps you create and manage translation dictionaries and packages. It ensures a localized shopping experience for your customers.
-
Code Generation: You can generate non-existent classes like factories and interceptors for plug-ins. Magento CLI also lets you create dependency injection configurations. For example, use
$ bin/magento setup:di:compileto compile your code. -
Static View Files Deployment: You can deploy static view files efficiently with
$ bin/magento setup:static-content:deployto optimize store performance with CLI. -
CSS Generation: Magento CLI helps to create CSS from LESS files, ensuring your store's styles are up-to-date.
-
Command Listing: Use
$ bin/magento listto get a comprehensive list of available installation and configuration commands in one convenient location. -
User-Friendly Interface: It uses a user interface based on Symfony, making Magento CLI more accessible and user-friendly.
-
Extensibility: Magento CLI's extensibility allows third-party developers to extend its functionality and tailor it to specific needs.
-
Module Management: Commands for disabled modules are automatically filtered out with CLI, reducing clutter and streamlining your workflow.
FAQs
1. How does Magento CLI accommodate the developer mode?
Magento CLI supports the developer mode. It allows users to configure the application for development, debugging, and testing. By utilizing the deploy:mode:set command, you can switch between different Magento modes - Developer, Production, or Default. This setting adjusts various aspects of Magento and optimizes Magento environment.
2. What are the available commands for managing Magento's CLI?
Magento CLI encompasses a wide array of commands that facilitate different operations. Utilize the $ bin/magento list command to access a comprehensive list of available commands. It includes commands for installation, configuration, maintenance, etc.
3. How is deployment configuration managed using Magento CLI?
Magento CLI empowers users to configure deployment settings through various arguments and options within commands. For instance, during installation, commands like setup:install require numerous arguments. It includes parameters for database setup, admin account details, language, timezone, etc.
4. What role does the schema play in Magento CLI?
Magento CLI operates using XML schema files. These schemas define the configuration structure and specifics for various functionalities within the Magento system. Users can read and interpret these XML schema files to understand the configuration options. It helps ensure their commands are structured according to the latest specifications and requirements.
5. How extensible is the Magento CLI?
The Magento CLI is highly extensible, allowing users to incorporate additional functionalities and customize its operations. Third-party developers can create new commands or extend existing ones. This extensibility feature ensures that the CLI's operations exceed standard default functionalities
Summary
The Magento CLI is an essential tool for managing Magento 2. It enables users to efficiently run tasks, deploy static views, and configure the system. This tutorial covered how to utilize Magento CLI. It includes CLI commands to manage cache, run tasks, automate jobs, and deploy static views.
Consider exploring reliable Magento server hosting for an enhanced CLI experience and seamless operation of your Magento store.


