
A Complete Guide To Magento 2 Customer Attribute Management
Are you looking to tailor your Magento 2 store by adding custom fields to your customer data? Magento 2 customer attribute management collects and manages essential customer information.
This tutorial will cover the extensions and integration steps for customer attributes in Magento 2.
Key Takeaways
- Create and manage customer data with Magento 2 customer attributes.
- Steps how to add custom fields to customer registration, account, and checkout pages.
- Add new attribute extensions for creating and managing customer attributes.
- Create custom fields for customer profiles, registration forms, and checkout processes.
- Develop a page for Magento to add custom attributes for different customers.
-
Field Descriptions For Creating Customer Attributes In Magento
-
Steps To Manage Custom Customer Attributes With Magento 2 Custom Development
-
Best Practices For Managing Unlimited Customer Attributes In Magento
Best Customer Attributes Extensions For Magento 2
1. Magento 2 Customer Attributes Extension by Magezon
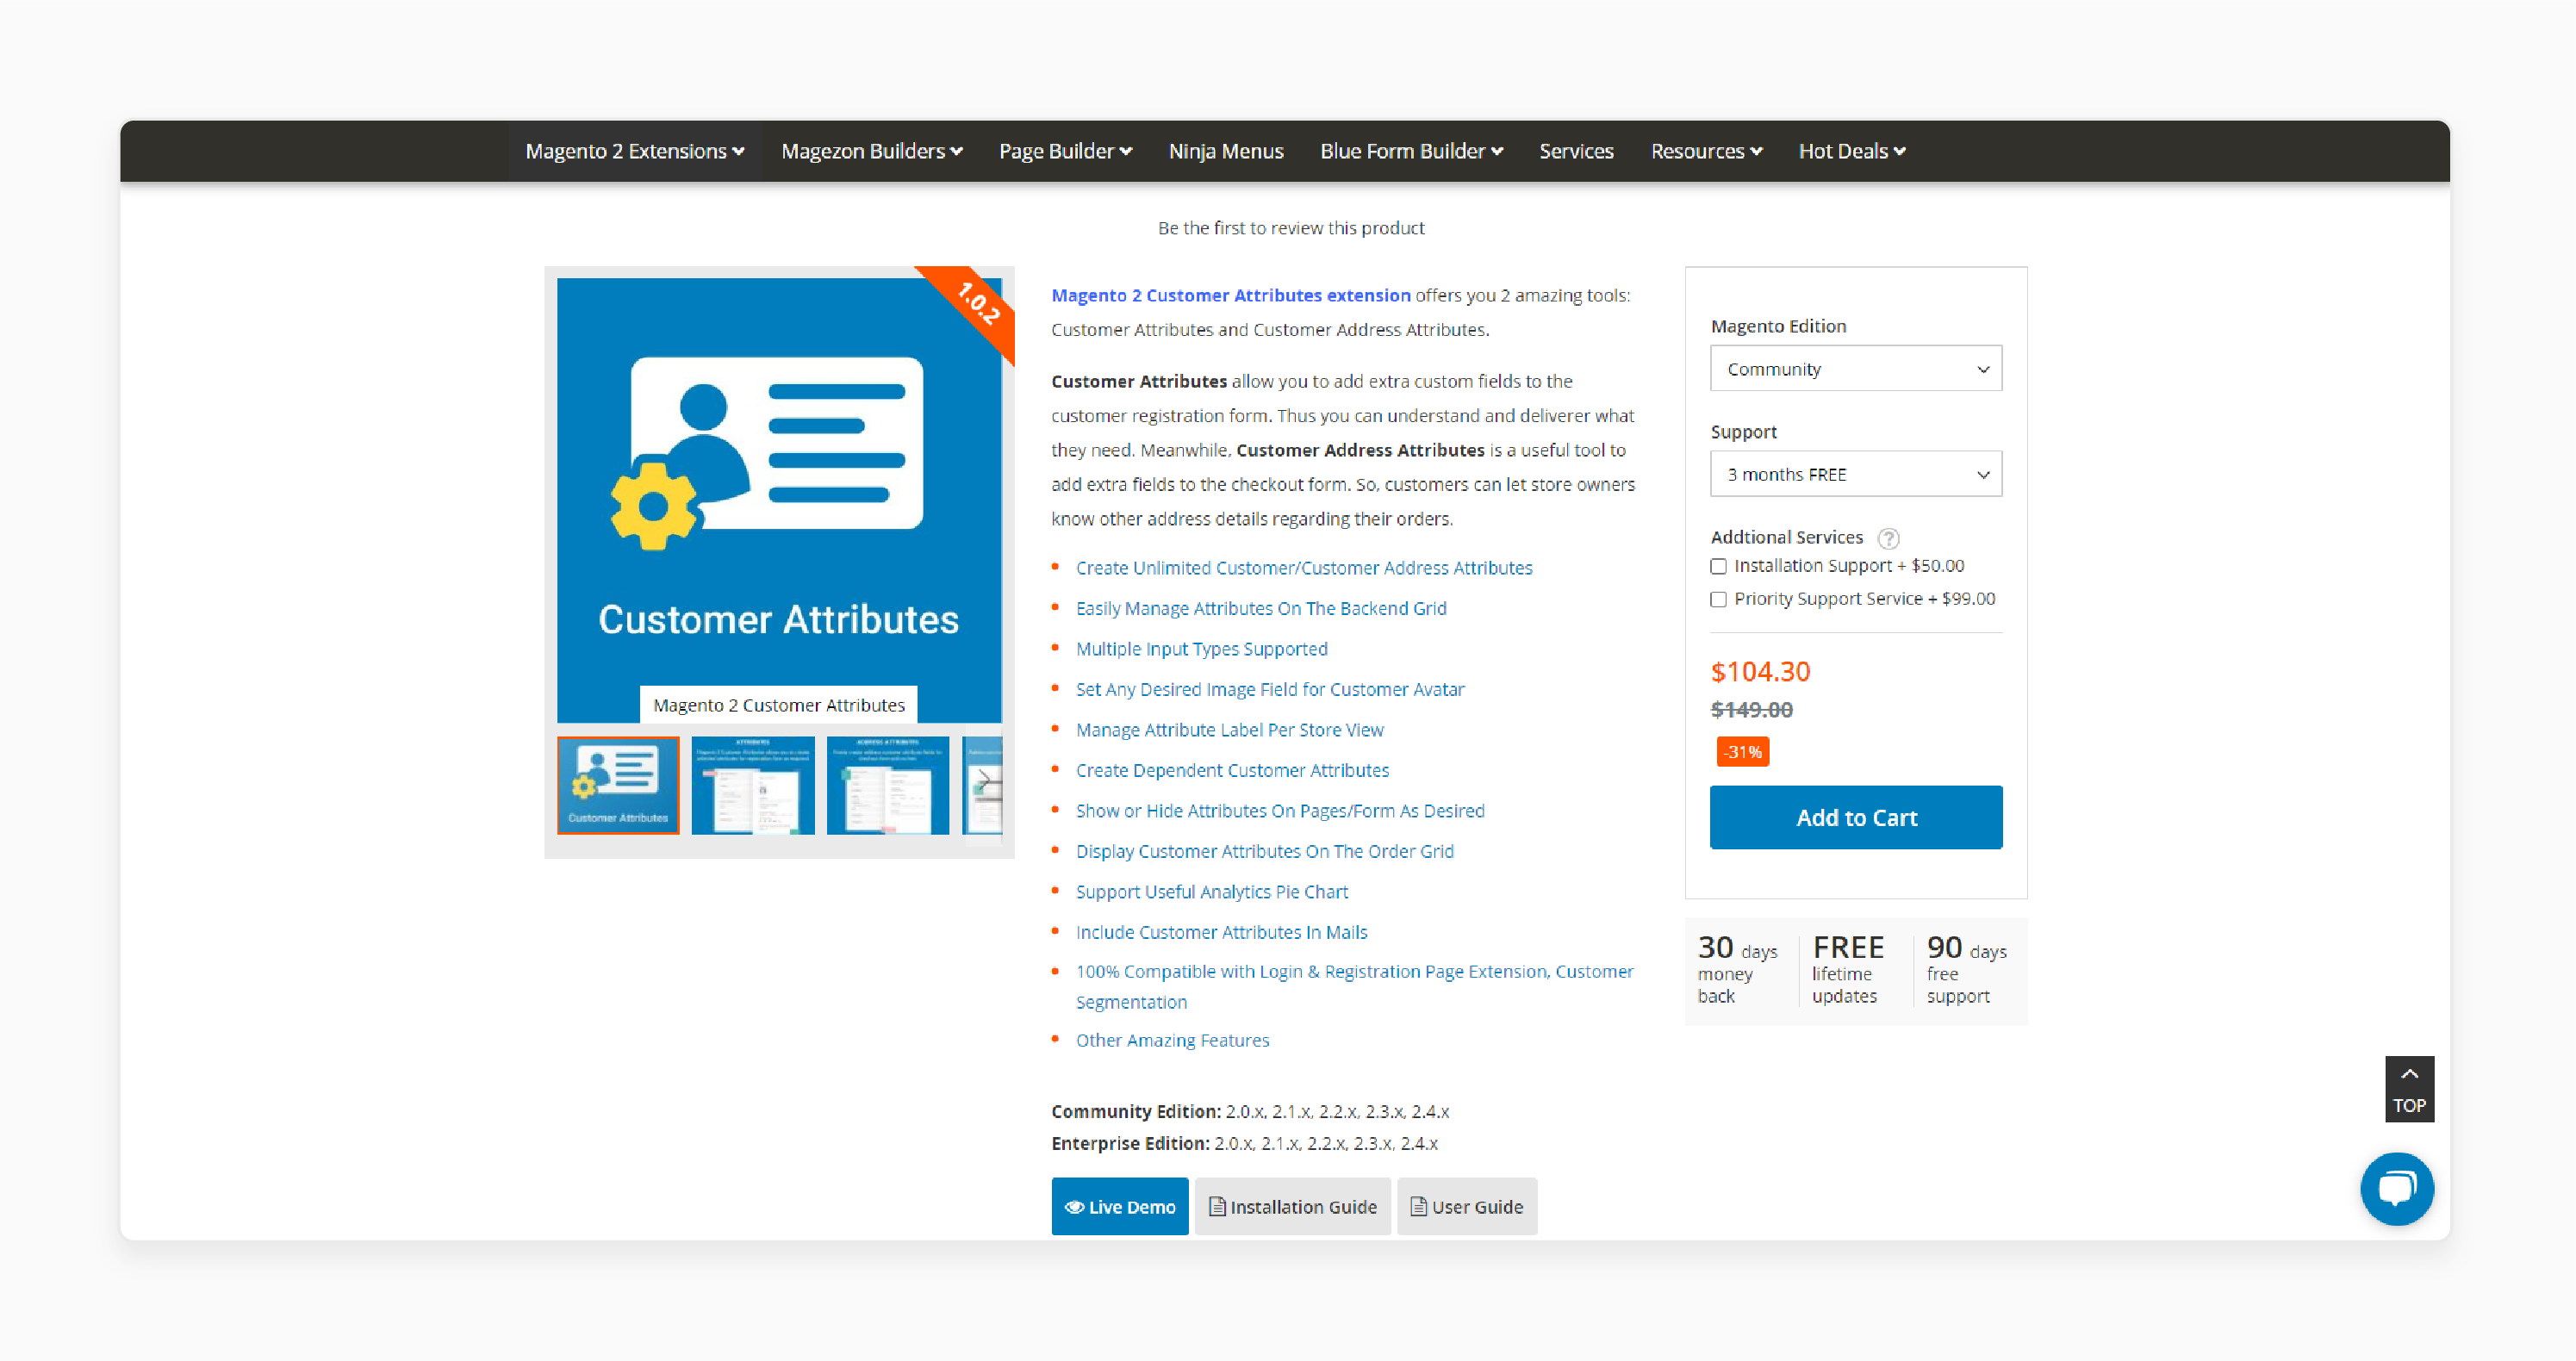
Magezon Magento 2 Customer Attributes extension allows you to include additional custom fields in the customer registration form. It helps you better understand and meet their needs. Customer address attributes allow you to add extra fields to the checkout form. It enables customers to provide store owners with more detailed address information for their orders.
Features
- Effortlessly manage attributes in the backend grid
- Supports multiple input types
- Assign any image field as a customer avatar
- Customize attribute labels for each store view
- Create dependent attributes for your customers
- Control visibility of attributes on pages and forms
- Display customer attributes on the order grid
- Includes support for analytics pie charts
- Add customer attributes in emails
- Fully compatible with Login & Registration Page Extension and Customer Segmentation
Pricing
- Community Edition + 3-Month Free Support + Installation + Priority Support Service- $253.30
- Enterprise Edition + 6-Month Free Support + Installation + Priority Support Service- $332.30
2. Customer Attribute Magento 2 Extension by MageDelight
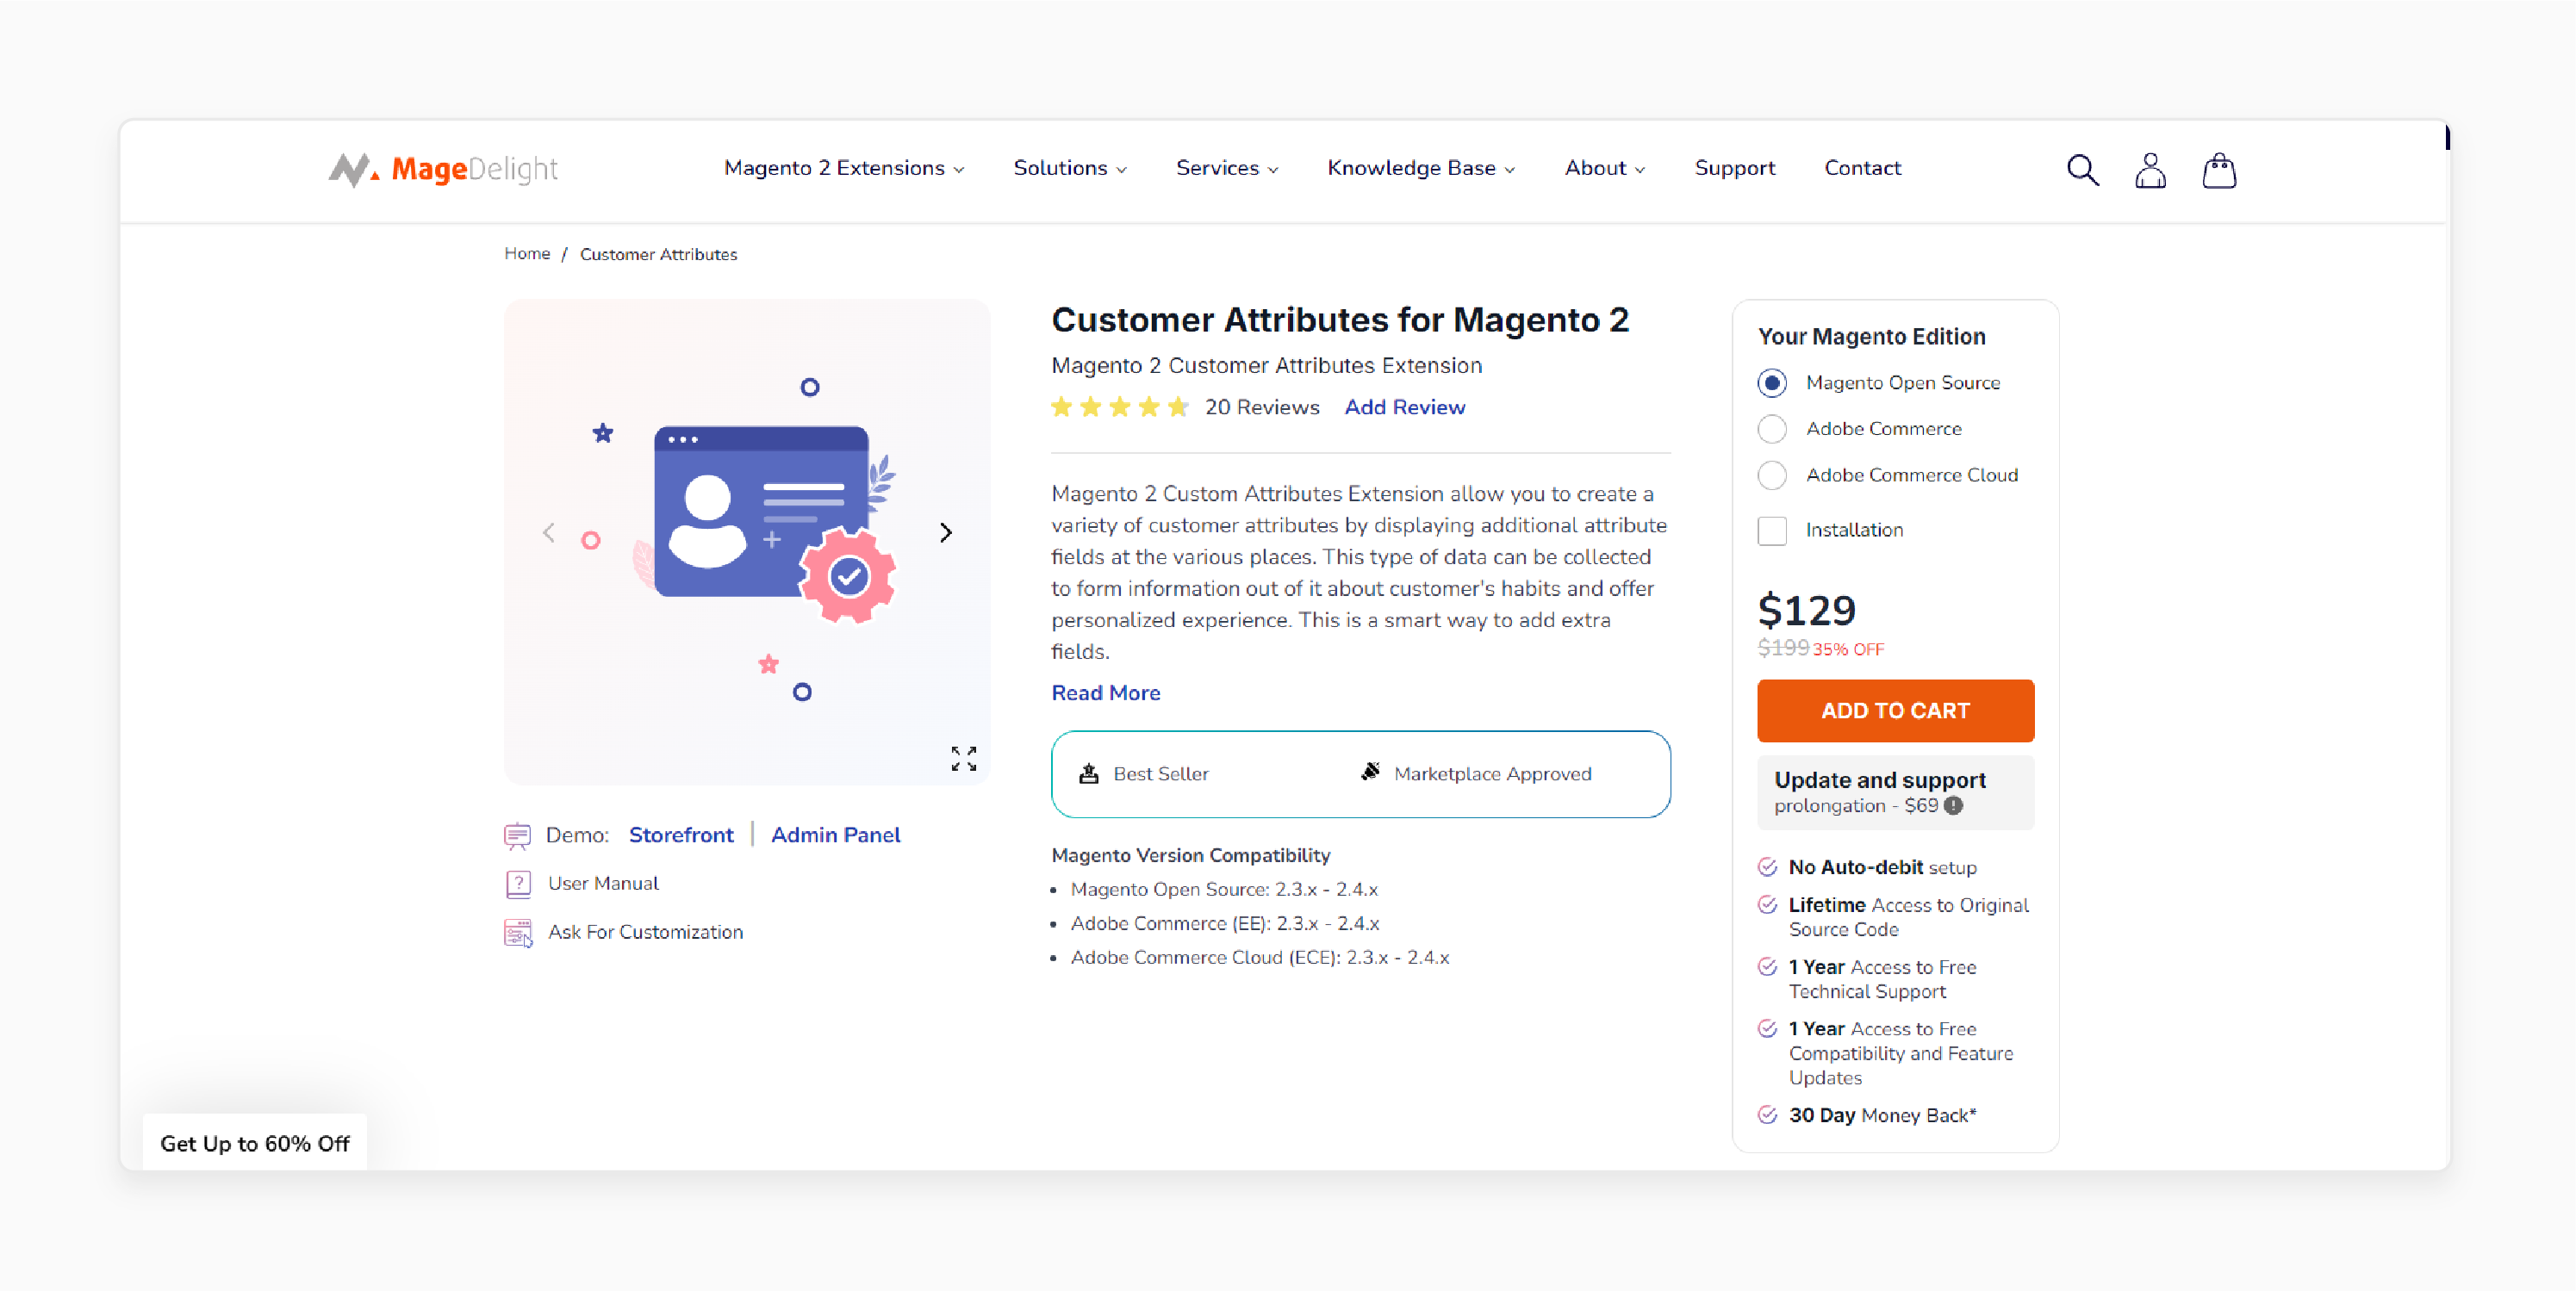
MageDelight Custom Attribute Magento 2 Extension enables you to create a range of customer attributes by adding extra attribute fields in different areas of your store. This data can be used to gather insights into customer habits. It allows you to offer a personalized experience. It's an effective method for enhancing your data collection with additional attribute fields.
Features
- User-friendly interface simplifies the creation of customer attributes
- A dedicated section for managing customer-provided information
- Admin panel management of customer attributes
Pricing
- Magento Open Source Edition + Installation- $178.00
- Adobe Commerce Edition + Installation- $308.00
- Adobe Commerce Cloud Edition + Installation- $408.00
Field Descriptions For Creating Customer Attributes In Magento
Attribute Properties
| Field | Description |
|---|---|
| Default Label | The default label that identifies the attribute in the Admin and storefront. |
| Attributes Code | A unique code that identifies the attribute within the system. |
| Input Type | Determines the input control that is used for data entry. |
| Values Required | Determines if a value must be entered into the field. |
| Default Value | Specifies the initial value of the attribute. |
| Input Validation | The selection of options is determined by the input type. |
| Input/Output Filter | Applies a preprocessing filter to values entered in a text field, text area, or multiple-line input type. |
| Add to Column Options | Specifies if the attribute is included as a column in the Customers grid. |
| Use in Filter Options | Specifies if the attribute can be used as a filter for search operations from the grid. |
| Grid Filter Condition Type | Specifies the filter-matching conditions for attributes for search operations from the grid. |
| Use in Search Options | Specifies if the attribute value can be used as a keyword in search operations. |
| Use in Customer Segment | Determines if the attribute is included in customer segment conditions. |
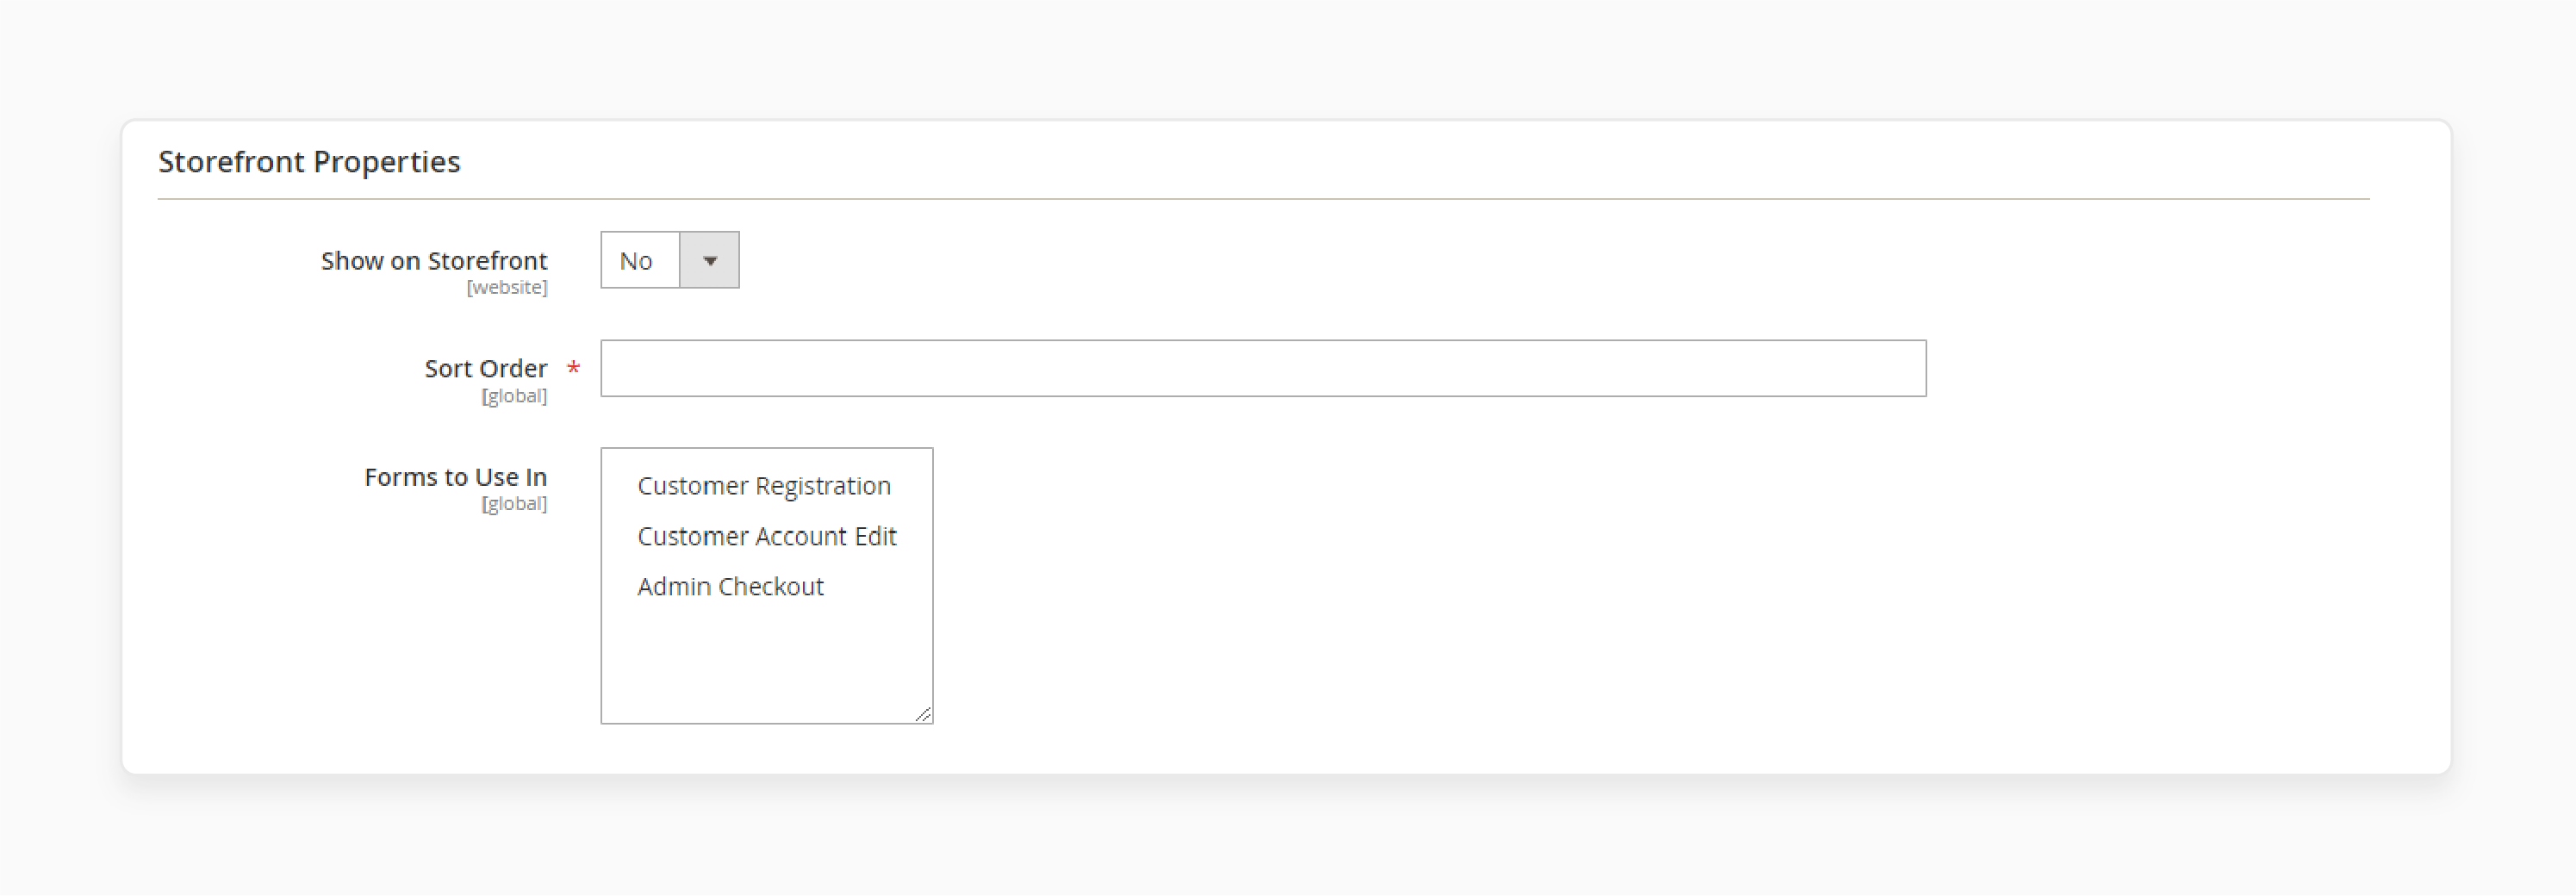
Storefront Properties
| Field | Description |
|---|---|
| Show on Storefront | Determines if the attribute appears as a field in the customer information in the storefront. |
| Sort Order | Specifies the sort order of this attribute in relation to other customer attributes. |
| Forms to Use in | Determines the pages with data entry forms where the attribute appears. |
Default Customer Attributes
| Attributes Code | Description |
|---|---|
| created_at | Date the customer account was created. |
| updated_at | Date the customer account was last updated. |
| website_id | Website ID of the site where the customer account was created. |
| store_id | Store ID of the site where the customer account was created. |
| created_in | Store view where the account was created. |
| group_id | ID of the customer group where the customer is assigned. |
| disable_auto_group_change | Determines if customer groups can be dynamically assigned during VAT ID validation. |
| prefix | Any prefix that is used with the customer name. |
| firstname | First name of the customer. |
| middlename | Middle name or middle initial of the customer. |
| lastname | Last name of the customer. |
| suffix | Any suffix that is used with the customer name. |
| Customer's email address. | |
| dob | Customer's date of birth. |
| taxvat | Value Added Tax (VAT) ID that is assigned to the customer. |
| gender | Customer gender. |
Steps To Manage Customer Attributes In Admin Panel
Step 1: Define the Attribute Properties
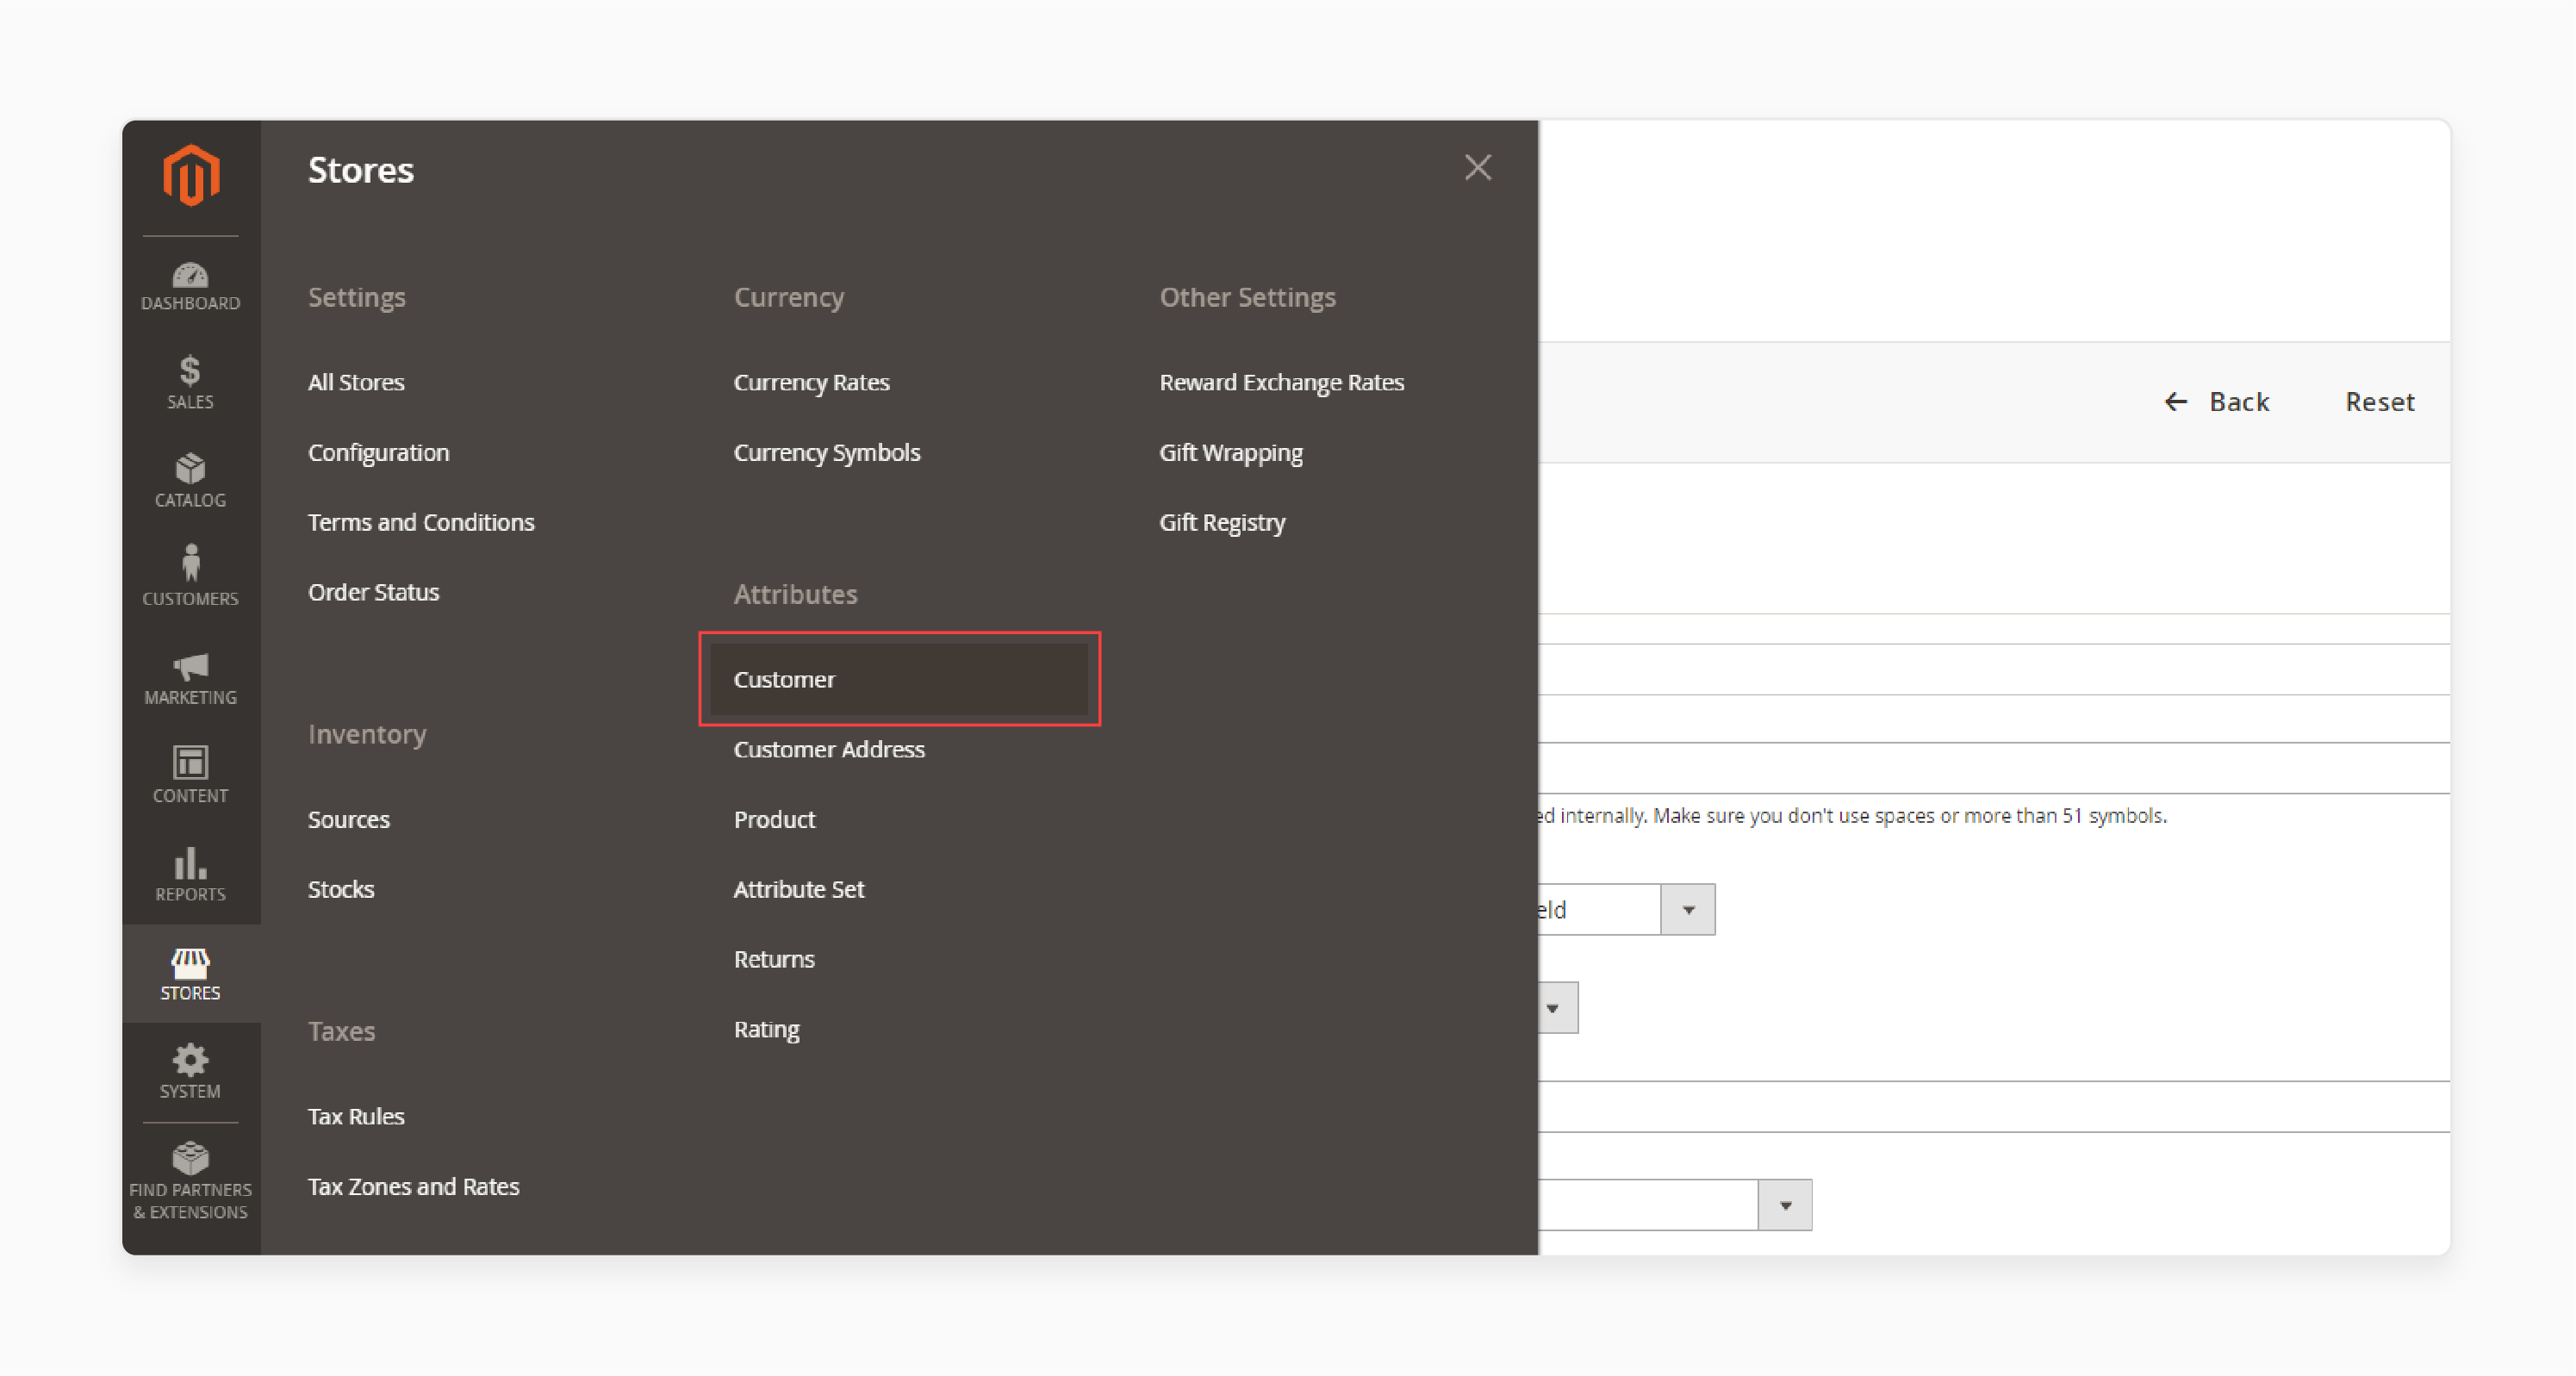
- In the Admin sidebar, navigate to Stores > Attributes > Customer.
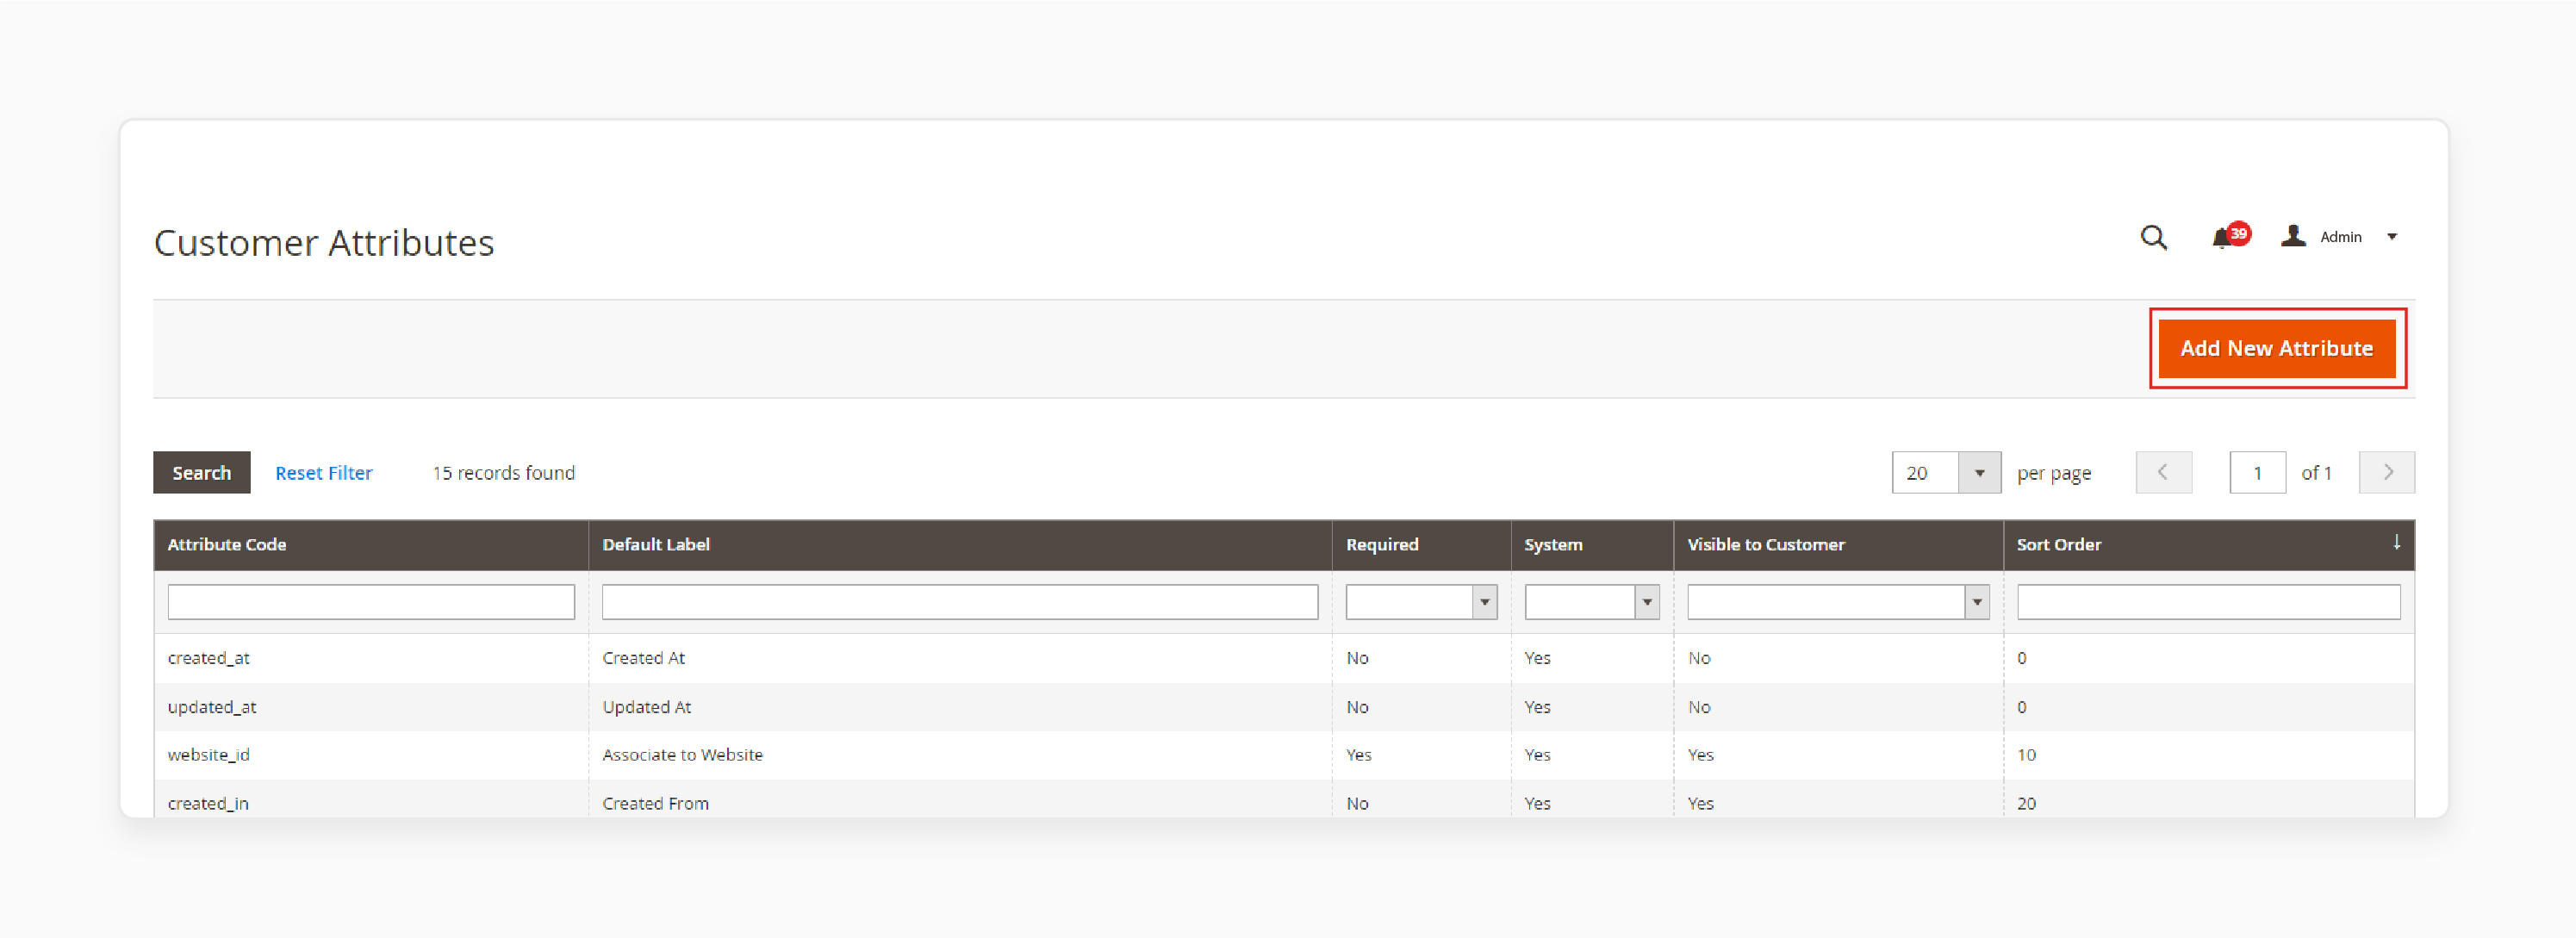
- Click 'Add New Attribute' in the upper-right corner.
Check the configuration steps for the 'Attribute Properties' section:
- Default Label: Enter a label that identifies the attribute during data entry.
-
Attribute Code: Enter a code to identify the attribute within the system. The code must:
- Start with a letter.
- Include lowercase letters (a-z) and numbers (0-9).
- Be fewer than 30 characters.
- Avoid special characters and spaces (use "
_" for spaces).

Note: Scroll down to 'Storefront Properties', enter the 'Sort Order', and save for a quick procedure.
- Input Type: Select the type of input control for data entry. Fill out the data entry properties and set them to the following:
| InputType | Description |
|---|---|
| TextField | A single-line text field for entering short text values. |
| Text Area | A multiple-line input field for entering paragraphs of text. Do it with support for HTML tags and WYSIWYG editor. |
| Multiple Line | Creates multiple text lines for the attribute, with "2-20" separate data entry lines and a default value option. |
| Date | Displays a date value in the preferred date format and time zone. Do it with options for selecting from a list or calendar. |
| Yes/No | A drop-down list with pre-defined options of "Yes" and "No". |
| Dropdown | A drop-down list of values that accepts only a single selection. It is commonly used for configurable products. |
| Multiple Select | A drop-down list that accepts multiple values to be selected. |
| File (attachment) | A field that allows a file to be uploaded and associated with the customer attribute as an attachment. |
| Image File | A field that allows an image to be uploaded to the gallery and associated with the customer attribute. |
Note: The input types listed above are used to collect and store customer attribute data. Each input type has its own unique characteristics and is suited for specific types of data.
- Values Required: Set to "Yes" if the customer must provide a value.
- Default Value: Enter an initial value for the field.
- Input Validation: Choose the type of data validation, depending on the 'Input Type'. Check the available options below:
| InputValidation | Description |
|---|---|
| None | No input validation is performed during data entry. |
| Alphanumeric | Accepts a combination of numbers (0-9) and alphabetic characters (az, AZ) during data entry. |
| Alphanumeric with Space | Accepts a combination of numbers (0-9), alphabetic characters (az, AZ), and spaces during data entry. |
| Numeric Only | Accepts only numbers (0-9) during data entry. |
| Alpha Only | Accepts only alphabetic characters (az, AZ) during data entry. |
| URL | Accepts only a valid URL during data entry. |
| Accepts only a valid email address during data entry. | |
| Length Only | Validates the input based on the length of the data entered into the field. |
Note: These are used to restrict the type of data that can be entered into a customer attribute field. Each option has its own specific validation rules. You can ensure data consistency and accuracy through this.
- Input/Output Filter: Select a preprocessing filter for text fields, text areas, or multiple-line input types. Set this option to one of the following:
| Text Filter | Description |
|---|---|
| None | No text filter is applied to the text entered into the field. |
| Strip HTML Tags | Removes HTML tags from the text, cleaning up data pasted from other sources. |
| Escape HTML Entities | Converts special characters to valid HTML escape sequences. For example, "&;", to clean up special characters pasted from word processors. |
Note: The text filter options listed above are used to clean up and format text. Each option has its own specific filtering rules to ensure data consistency and accuracy.
Check the examples of Escape HTML Entities below:
| Special Character | Escape sequence |
|---|---|
| & (ampersand) | & |
| < (less than) | < |
| > (greater than) | > |
| " (double quote) | " |
| ' (single quote) | ' |
- Add to Column Options: Set to "Yes" to include this attribute in the 'Customers' grid.
- Use in Filter Options: Set to "Yes" to allow filtering by this attribute in the 'Customers' grid.
- Use in Search Options: Set to "Yes" to make this attribute searchable in the 'Customers' grid.
- Grid Filter Condition Type: Choose between "Partial Match", "Prefix Match", or "Full Match". Do this to filter text attributes in the 'Customers' grid.
- Use in Customer Segment: Set to "Yes" to make this attribute available for customer segments.
Step 2: Configure the Storefront Properties
- Scroll down to the 'Storefront Properties' section.
Check the below configuration steps:
- Show on Storefront: Set to "Yes" to make the attribute visible to customers.
- Sort Order: Enter a number to determine the attribute's order of appearance among other attributes.
-
Forms to Use: Select the forms to include this attribute by holding down the "Ctrl" key and clicking each form:
- Customer Registration
- Customer Account Edit
- Admin Checkout
Step 3: Label the Attribute and Save
- In the left panel, choose 'Manage Labels/Options'.
- Under 'Manage Titles', enter a label for the attribute for each store view.
- Once complete, click on the 'Save Attribute' button.

Advanced Techniques For Customer Attributes In Magento 2
| Technique | Description |
|---|---|
| Custom Attributes | Create custom attributes to collect additional information about your customers. |
| Attribute Sets | Use attribute sets to group related attributes together. |
| Attributes Options | Use attribute options to provide customers with a list of options to choose from. |
| Customer Segmentation | Use customer attributes to segment your customers based on their preferences, interests, and behaviors. |
| Personalization | Use customer attributes to provide personalized marketing and promotions to your customers. |
Steps To Manage Custom Customer Attributes With Magento 2 Custom Development
- To create a custom module, set up the directory structure at:
app/code/Vendor/ModuleName - Create and configure
registration.phpandmodule.xmlfiles to register your module. - Implement a setup script in
Setup/InstallData.phpto define the new customer attribute.
Note: This involves specifying the attribute's type, label, input method, visibility, and usage in different forms. Examples include the admin panel or customer account forms.
- Execute the setup upgrade command to apply the new attribute to the database.
To retrieve a custom customer attribute in Magento 2, follow the steps below:
- Use Magento's Customer Repository to load a customer by their ID.
- Retrieve the custom attribute using the
getCustomAttributemethod with the attribute code. - Inject your custom class into a block or controller.
- Call the method that retrieves the custom attribute using the customer "ID".
Best Practices For Managing Unlimited Customer Attributes In Magento
| Best practices | Description |
|---|---|
| Use a Customer Attribute Extension | Use a customer attribute extension to simplify attribute management. |
| Keep Attributes Organized | Keep attributes organized by categorizing them. |
| Use Attribute Labels | Use attribute labels to make attributes easy to understand. |
| Validate Customer Input | Validate customer input to ensure accuracy. |
FAQs
1. Is there a user guide available for managing parent attributes in Magento Commerce?
Yes, Magento Commerce provides a comprehensive user guide that covers parent attribute management. It is compatible with Magento 2. It explains to you how to create, configure, and display parent attributes. To show customer information related to these attributes, you can use the customer grid in the admin panel. Also, you can create custom views on the frontend. The guide details steps to set up parent-child attribute relationships. It tells you how to show customer attributes based on these attribute configurations effectively.
2. How can I collect extra customer information using customer attributes for Magento 2?
Magento 2 allows you to collect customer data with custom attributes added to the customer profile. You can create extra customer fields to gather additional information. The Magento Marketplace offers several customer attribute extensions. They provide various input types and easy admin management tools. These extensions simplify the process of creating, managing, and displaying custom attributes. They allow you to collect customer information beyond the default fields efficiently. When choosing an extension, look for options that offer flexibility in attribute types. Seamlessly integrate with the customer registration and account pages.
3. How does a customer attribute extension enhance customer data collection across various pages?
A customer attribute extension for Magento creates a variety of customer attributes. It displays additional attribute fields at the various places with customer attribute Magento. These custom fields can appear on the customer registration page, account edit page, checkout process, and admin panel. The extension allows you to collect more detailed customer information seamlessly. This comprehensive approach to data collection enables better customer profiling and personalization. It enhances the overall shopping experience in your Magento store.
4. Can customer address attributes help resolve issues with the customer profiles?
Yes, customer address attributes can address issues with incomplete customer profiles during Magento 2 registration. Customer address attributes can also gather more specific location-based information. These additional fields can help create more comprehensive customer profiles. They resolve issues related to shipping, tax calculations, or region-specific product offerings. They allow you to collect precise data upfront. It reduces the need for follow-ups, improving overall customer data quality.
5. How do Magento extensions for customer attributes fill in additional customer information?
Magento extensions for customer attributes improve the ability to gather and fill in additional customer information. These extensions expand on Magento's default capabilities. They allow you to create custom fields to capture data relevant to your business. You can prompt customers to fill in attributes during registration, account updates, or checkout processes. It enables you to collect a wide range of customer data without modifying core Magento files. Examples include preferences and interests to detailed demographic information. As a result, these extensions enhance customer profiling and enable better segmentation. Also, they provide valuable insights for personalized marketing strategies.
Summary
With the right Magento 2 customer attribute management, you can customize your store's registration forms, customer accounts, and checkout pages. It helps store owners to:
- Tailor the customer experience and simplify attribute management.
- Improve data collection for better segmentation and targeting.
- Enhance inventory management and personalization.
- Review and update attributes to maintain data accuracy.
- Ensure a smooth user experience.
Optimize customer data management and streamline your ecommerce operations with top-tier Magento hosting services.


